
To create high-quality photographs that accurately represent your artwork, it’s essential to follow a step-by-step guide that covers everything from preparation to final review. Each step helps ensure your photos are clear, detailed, and visually appealing. Whether you’re photographing your work for a portfolio, online sales, or social media, this guide will help you capture the best images possible.
1. Preparing Your Artwork for the Shoot
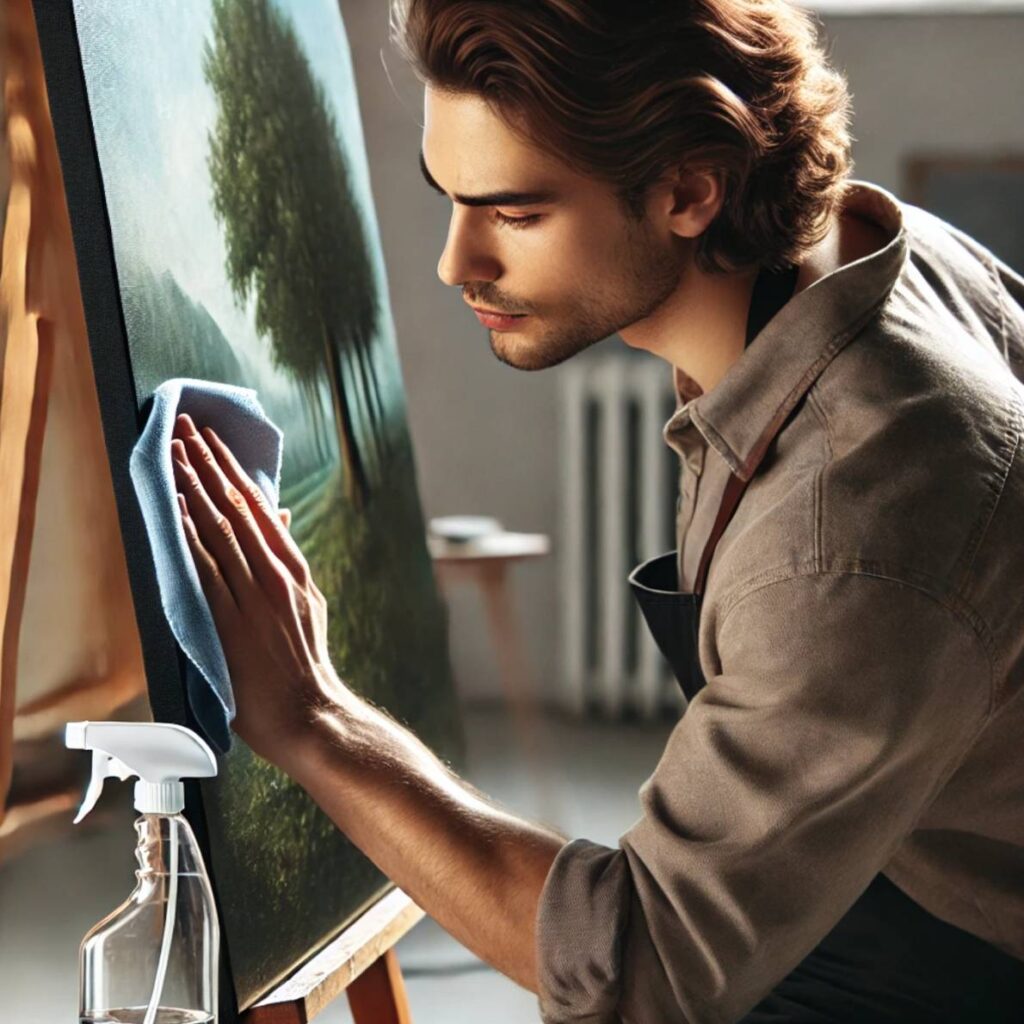
Before you even set up your camera, it’s important to make sure your artwork is in perfect condition. This initial step is often overlooked, but it’s vital to capturing professional, clean images.
- Clean Your Artwork: Dust, smudges, or fingerprints can detract from the final image, especially if your artwork is glossy or has intricate details. Use a microfiber cloth to gently clean the surface, or an appropriate cleaner if you’re working with glass or other materials.
- Frame Adjustments: If your piece is framed, ensure the frame is clean and free of scratches. If the frame has glass, check for any fingerprints or streaks. Consider removing the glass temporarily to avoid reflections, especially if it’s challenging to control lighting glare.
Touch-Up: Check for any imperfections in your artwork, especially if it’s been handled recently. Fix any minor issues that might be visible in high-resolution photos, such as smudges or small flaws in the paint.
2. Positioning Your Camera for the Best Angle
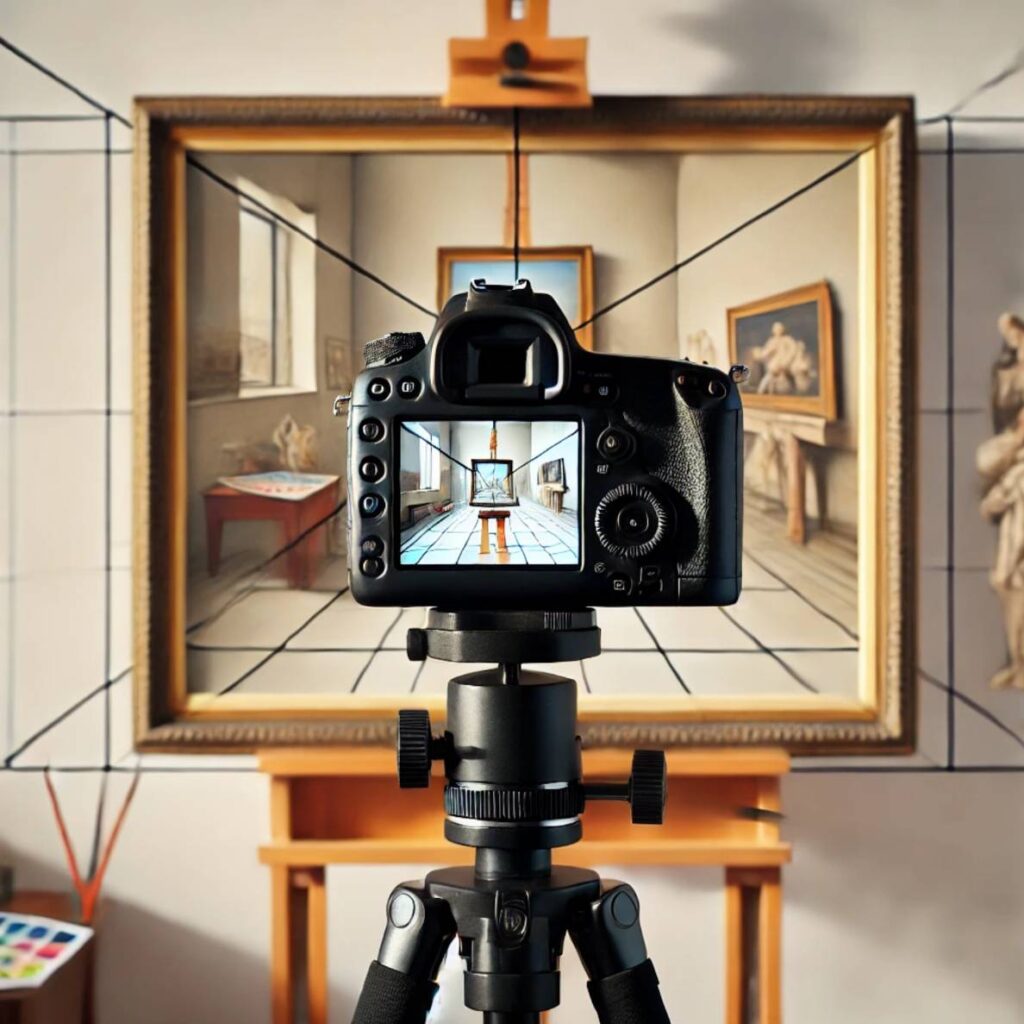
Proper camera positioning is crucial for avoiding distortion, capturing details, and highlighting the key features of your artwork.
- Parallel to Flat Artwork: For flat, 2D artwork such as paintings, drawings, or prints, position the camera directly in front of the piece and ensure it’s completely parallel. If the camera is at an angle, it can distort the dimensions, making the artwork appear warped or stretched. A tripod is essential here to maintain alignment.
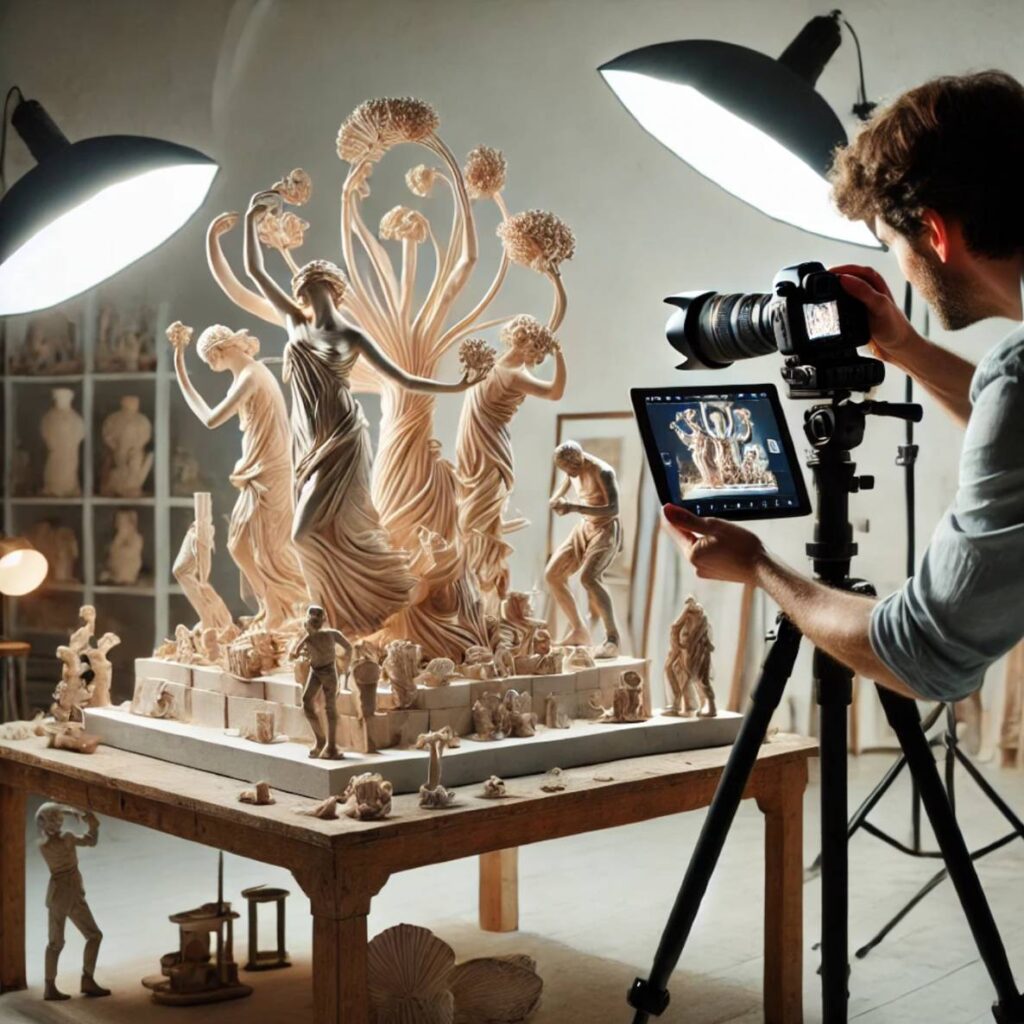
- Multiple Angles for 3D Work: For sculptures or other 3D pieces, you’ll want to capture multiple angles to fully showcase the form. Start with a full, front-facing shot to provide an overall view of the piece. Then, move the camera around to highlight different angles and details. This gives potential viewers or buyers a comprehensive understanding of the artwork’s dimensions and texture.
Shoot from Eye Level: In most cases, you’ll want to shoot from eye level to the artwork. For paintings, this means centering the artwork in the frame at a level that simulates how someone would view it in a gallery. For sculptures, eye level should be adjusted according to the height and nature of the piece to show its proportions clearly.
3. Adjusting Lighting and Camera Settings
Good lighting and the right camera settings are critical to achieving professional photos. Whether you’re using natural or artificial light, it’s important to know how to control these factors.
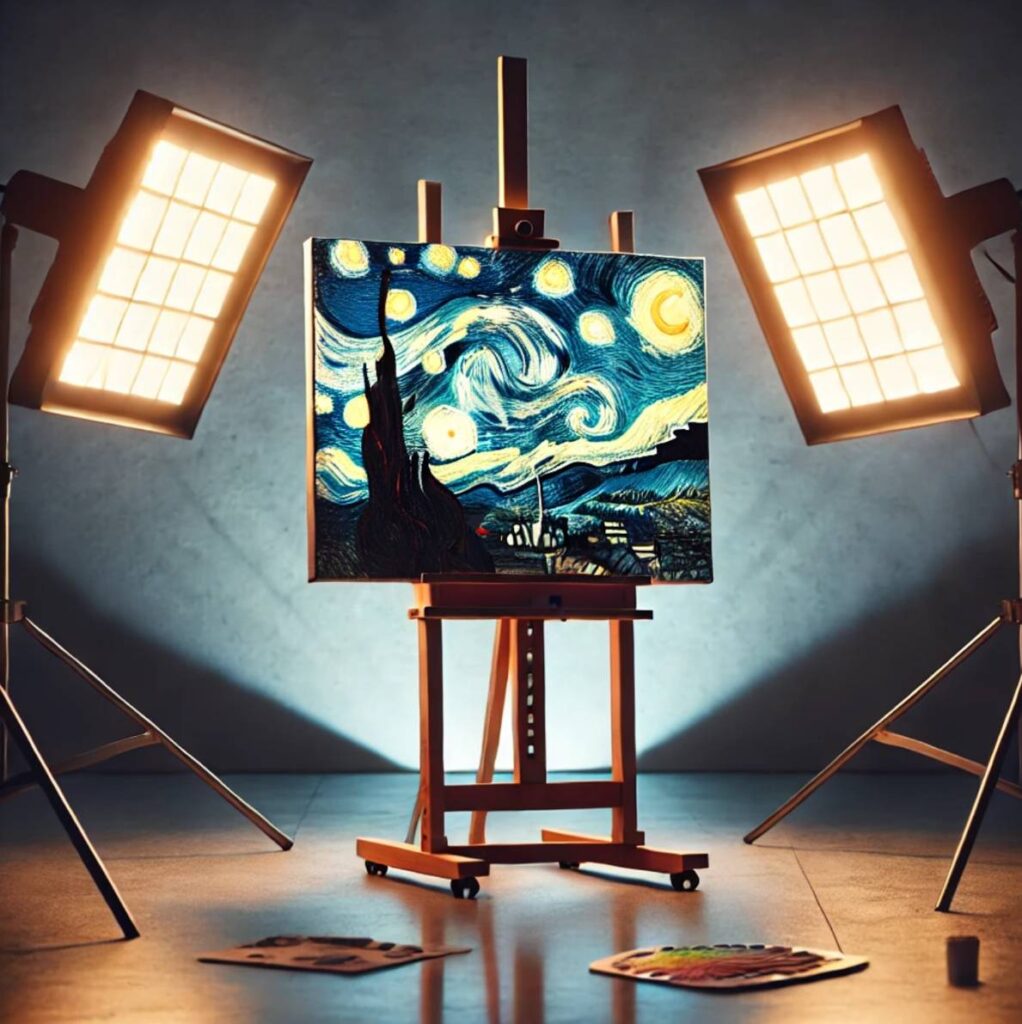
Lighting Setup
- Even Lighting: To minimize shadows and glare, your artwork should be illuminated evenly. For 2D artwork, position the light sources at a 45-degree angle on both sides of the piece. This setup helps to eliminate harsh shadows and glare, particularly if your artwork is behind glass or has reflective surfaces.
Diffused Light: Use soft, diffused lighting to avoid any direct, harsh light. This can be achieved by using softboxes, diffusers, or sheer curtains over windows. Diffused lighting is more flattering and helps bring out the textures and details in your artwork.
Camera Settings
- ISO: Keep your ISO setting as low as possible (e.g., ISO 100 or 200) to reduce noise (graininess) in the image. High ISO settings are more suitable for low-light environments but can introduce unwanted noise that diminishes the quality of the image.
- Aperture: Use a higher f-stop number (like f/8 or f/11) to ensure a deep depth of field, meaning more of your artwork will be in focus. This is particularly important for larger pieces or works with a lot of detail.
- White Balance: Adjust your camera’s white balance setting to ensure that the colors in the photograph match the original artwork. If you’re shooting in natural light, you may want to use the “daylight” setting, while for artificial lights, the “tungsten” or “fluorescent” settings may be more appropriate.
- Shutter Speed: With a tripod, you can use slower shutter speeds (like 1/60 or even lower) without worrying about camera shake. Slower shutter speeds allow more light to hit the sensor, which can be useful in dim lighting conditions.


Focus: Ensure that your camera’s focus is sharp on the artwork itself, especially for flat pieces. For 3D pieces, focus on the primary feature you want to highlight and consider using a smaller aperture for more depth of field.
4. Taking Multiple Shots and Reviewing Them
Once your artwork is prepared, the camera is in position, and the lighting is set up, it’s time to take multiple shots to ensure you get the best image.
- Shoot from Different Angles: Even if you have a “main” angle you prefer, take photos from multiple angles. This is particularly important for 3D pieces where a side or rear view might reveal important details.
- Take Close-Up Shots: For pieces with intricate details, zoom in or move closer to capture those textures, brushstrokes, or features. These close-ups can be used alongside full shots to provide viewers with a better understanding of the detail in your work.
- Experiment with Light and Distance: Try moving your lights slightly or adjusting the distance between the camera and the artwork. This will give you a variety of images to choose from, and sometimes small changes in setup can make a big difference in the final result.
- Bracket Your Shots: If your camera allows for exposure bracketing, use this feature. Bracketing means taking several shots at different exposure levels (e.g., one normal exposure, one underexposed, and one overexposed). This ensures that one of the photos captures the artwork with the ideal brightness and contrast.
Review on a Larger Screen: After taking several shots, transfer them to a computer or larger screen for review. Zoom in on each image to check for clarity, focus, and color accuracy. This is important because details that might look fine on your camera’s small display may appear different on a larger screen.
5. Final Review and Selection
Once you’ve completed the photoshoot, the final step is to review and select the best images for editing and publishing. This involves a few critical tasks:
- Check for Sharpness: Zoom into the photos and make sure they are sharp and free of motion blur. Pay close attention to fine details like textures or intricate parts of the artwork.
- Assess Lighting and Color: Ensure the lighting in each shot is even and highlights the important features of your artwork. Make sure the colors in the photo match the original piece as closely as possible. If there are significant differences, they can often be corrected during editing.
- Compare Different Angles: For 3D pieces, review all the angles and choose the shots that show off the piece’s form, depth, and texture in the best light.
Pick Several Photos: Don’t limit yourself to just one photo. For portfolios, websites, or sales listings, it’s a good idea to provide multiple images—such as a full shot, close-up details, and different angles—so viewers can get a well-rounded view of the piece.
Editing and Enhancing Your Photos
Editing and enhancing your photos is the final step in the process of photographing your artwork, and it’s just as important as the photography itself. Even the most carefully taken images may require some level of post-processing to ensure they represent your artwork as accurately and beautifully as possible. This process helps correct any imperfections in lighting, color, or composition, and ensures that your artwork looks its best, whether for online sales, social media, or portfolio submissions.
1. Basic Photo Editing Techniques
The first stage of editing involves making simple adjustments to improve the overall quality of your image. These basic edits ensure that your artwork is presented in a way that’s clear, sharp, and true to its original form.
Cropping

- Purpose: Cropping helps remove any unwanted background, distracting elements, or empty space around your artwork. It allows the artwork to be centered and properly framed within the image.
- How to Crop: Keep the focus entirely on your piece by cropping the image to eliminate distractions. For 2D artwork, ensure the edges of your artwork are clean and straight. For 3D artwork, crop in a way that highlights the most important angles or features of the piece.
Straightening

- Purpose: Ensuring that the artwork is aligned properly within the image is crucial for a professional look. If your artwork looks slightly tilted or skewed, it can detract from the viewer’s experience.
- How to Straighten: Most photo editing software has a “straighten” tool that allows you to align the image by rotating it slightly. Use this to make sure your artwork is perfectly horizontal or vertical, depending on the composition.
Brightness and Exposure

- Purpose: Adjusting the brightness and exposure ensures that your artwork is neither too dark nor too light. Good exposure helps reveal the true details and colors of your work.
- How to Adjust: If the photo looks underexposed (too dark) or overexposed (too bright), use the brightness or exposure sliders to adjust it. Aim for an even light across the image without blowing out highlights or losing shadow details. The goal is to make the image as close as possible to how the artwork looks in person.
Contrast

- Purpose: Adding contrast helps to make the details in your artwork stand out by making the darks darker and the lights lighter. This enhances the depth and richness of your artwork.
- How to Adjust: Be careful not to overdo contrast, as too much can create an unnatural or overly dramatic look. Increase the contrast slightly to give the image more definition, especially if the lighting in the original photo was flat.
Sharpness and Clarity

- Purpose: Enhancing sharpness brings out the fine details in your artwork, which is especially important for textures or intricate elements like brushstrokes or line work.
- How to Adjust: Most editing software includes tools for sharpening images. Increase sharpness to improve the clarity of the details, but avoid over-sharpening, as this can introduce noise or make the image look harsh and artificial.
2. Color Correction

Accurate color representation is crucial when photographing artwork, as potential buyers, gallery curators, or portfolio reviewers need to see the true colors of the piece. Even with good lighting, your photo may have slight color imbalances that need to be corrected during editing.
White Balance

- Purpose: Adjusting the white balance ensures that the colors in your image are true to life. Incorrect white balance can result in your artwork looking too warm (yellow/orange) or too cool (blue).
- How to Adjust: Most editing tools have an automatic white balance feature, but you can also manually adjust it. Start by using the “temperature” and “tint” sliders to correct any color cast and get the image to look as close as possible to the original artwork. For precise white balance adjustments, you can use a gray card when shooting and then use that reference in post-processing.
Saturation and Vibrance

- Purpose: Adjusting the saturation and vibrance of your image helps ensure the colors of your artwork look rich and true to life, without being too muted or too vivid.
- How to Adjust: If the colors in your photo appear dull, increase the vibrance to make them more intense. Be careful not to over-saturate, as this can make your artwork look unnatural. Use vibrance over saturation for a more subtle effect, as it focuses more on enhancing muted colors without overly affecting already bright areas.
Correcting Color Casts

- Purpose: Sometimes, photos can have an unwanted color cast due to poor lighting conditions. For example, indoor lighting may give a yellow or orange tint to the image.
- How to Correct: Most editing software, such as Adobe Lightroom or Photoshop, allows you to individually adjust colors. Use the hue, saturation, and luminance sliders for specific color corrections. For example, if the whites in your image look yellow, lower the saturation of the yellow tones while increasing the blue to balance it out.
3. Advanced Editing Techniques
Once you’ve completed the basic adjustments, you may want to apply more advanced edits to perfect your image and make sure it looks professional.
Cloning and Healing Tools

- Purpose: Sometimes there may be minor imperfections in the background or surrounding areas of your photo that detract from the artwork. This can include dust particles, glare, or small marks on the wall or backdrop.
- How to Use: Use the clone stamp or healing brush tools to remove any unwanted elements from your image. These tools allow you to select a nearby clean area and “paint” over the imperfection, blending it seamlessly with the rest of the photo.
Lens Corrections

- Purpose: If you’re using a wide-angle lens or if your camera was slightly angled when taking the photo, your image may show distortion. This can warp the lines of your artwork, making it appear curved or stretched.
- How to Correct: Most editing software has automatic lens correction tools that adjust for distortion, chromatic aberration, or vignetting caused by the camera lens. You can also manually adjust the perspective or skew to correct any noticeable distortion.
Noise Reduction

- Purpose: High ISO settings or low light conditions can cause noise (graininess) in your image, particularly in the darker areas.
- How to Reduce: Use the noise reduction feature in your editing software to smooth out the graininess while preserving important details. Be cautious not to overdo it, as excessive noise reduction can make the image look soft or plastic-like.
4. Final Touches and Exporting
Once your image has been edited, it’s time to finalize it for your intended use, whether that’s for online listings, social media, or printing.
Image Resizing

- Purpose: You’ll want to resize your image depending on where it will be displayed. Larger files can slow down websites, while images that are too small can appear pixelated.
- How to Resize: For online use, aim for a resolution of 1200-1500 pixels on the longest side to ensure a balance between quality and load time. For printing, you’ll need much higher resolutions, typically 300 DPI (dots per inch), to ensure crisp, detailed prints.
File Formats

- JPEG: Best for online use due to its smaller file size and faster loading times. Make sure to save at a high-quality setting to preserve the image clarity.
- TIFF: Ideal for prints or high-resolution portfolios, as TIFF files retain more detail and color information than JPEGs. However, they result in much larger file sizes.
- PNG: A good alternative for online use if you need higher quality than JPEG and want to maintain transparency (if applicable).
File Compression

- Purpose: File compression is essential for uploading images to websites or sending them via email without sacrificing too much quality.
- How to Compress: Use tools like TinyPNG or JPEGmini to reduce the file size without compromising the image quality. Avoid compressing the file too much, as this can result in a loss of detail and clarity.
5. Using Editing Software
Depending on your level of experience and the tools at your disposal, there are different software options for editing and enhancing your photos.
- Adobe Photoshop:
The industry standard for advanced photo editing. It offers powerful tools for making precise adjustments to color, contrast, and sharpness, as well as more advanced tools for cloning, healing, and retouching.
- Adobe Lightroom:
A more user-friendly option, ideal for batch editing and making quick adjustments. Lightroom excels at organizing large collections of images and making global adjustments across multiple photos.
- Snapseed:
A mobile editing app that’s free and highly intuitive. It’s great for making basic edits like cropping, brightness adjustments, and color correction, especially if you’re using a smartphone to photograph your artwork.
- VSCO:
Another mobile app popular for editing photos, particularly with its filters and easy-to-use interface for adjusting exposure, contrast, and sharpness.
Best Practices for Uploading to Websites, Portfolios, and Social Media
When uploading to your website or portfolio, ensure the images are optimized for speed. Compress files without sacrificing too much quality using tools like TinyPNG or JPEGmini. On social media, be mindful of each platform’s specifications—Instagram, for instance, favors square or portrait images.
Conclusion
Photographing your artwork properly can make a world of difference when it comes to showcasing your talent, attracting buyers, and gaining recognition in the art community. With the right tools, lighting, and editing techniques, you can ensure your artwork shines both in portfolios and online sales listings. Start with the tips provided here, and you’ll be well on your way to presenting your artwork in the best possible light.
[/et_pb_text][/et_pb_column] [/et_pb_row] [/et_pb_section]


