Acrylic pouring art has surged in popularity, captivating DIY enthusiasts, home decorators, and artists alike. The mesmerizing swirls of color, unexpected patterns, and organic fluidity make it an irresistible medium for both beginners and experienced creators. Whether you want to add a touch of artistic flair to your home or experiment with new techniques, it offers an accessible way to explore abstract creativity.
This guide will walk you through the essentials of acrylic pouring—from supplies to techniques—so you can create visually stunning artwork with confidence. Let’s dive in!
What is Acrylic Pouring?
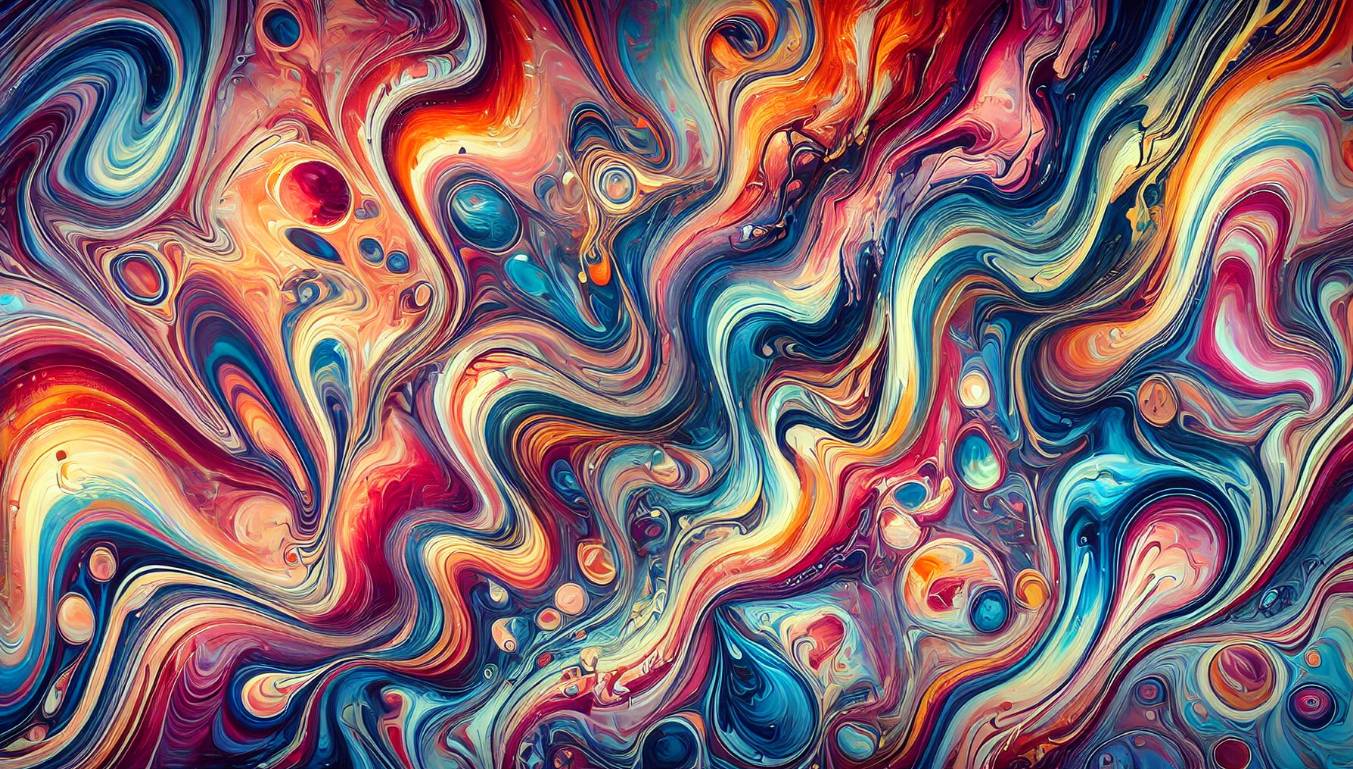
Acrylic pouring is a fluid painting technique where thinned acrylic paints are poured onto a surface to create abstract designs. Unlike traditional brushwork, this method allows paint to flow freely, forming intricate patterns and color interactions that make each piece unique.
Why is Acrylic Pouring So Popular?
✅ Easy to Learn – No prior painting experience is required.
✅ Unpredictable & Unique – No two artworks are ever the same.
✅ Stress-Relieving – Encourages creativity and mindfulness.
✅ Versatile – Works on various surfaces like canvas, wood, and glass.
Acrylic pouring is more about embracing the process rather than controlling the outcome, making it a fun and experimental form of art.
Essential Supplies for Acrylic Pouring
Before getting started, make sure you have the following materials:
1. Acrylic Paint
Choose fluid acrylic paints for easy flow. If using thicker paints, mix them with a pouring medium to achieve the right consistency. High-quality, high-pigment paints such as Liquitex, Golden, and DecoArt offer the best results.
2. Pouring Medium
A pouring medium helps paint flow smoothly while maintaining color vibrancy. Popular options include:
- Floetrol – Great for creating cells and smooth consistency.
- Liquitex Pouring Medium – Enhances color vibrancy and fluidity.
- GAC 800 – Reduces cracking and improves paint adhesion.
3. Suitable Surfaces
While canvas is the most common choice, you can also experiment with:
- Wood panels
- Ceramic tiles
- Glass or acrylic sheets
Priming your surface with gesso ensures better paint adhesion and longevity.
4. Additional Tools
- Mixing cups & sticks – For blending colors and mediums.
- Palette knife – Helps with swiping techniques.
- Torch or heat gun – Used to create unique cell formations.
- Silicone oil – Encourages cells and organic patterns.
Step-by-Step Guide to Acrylic Pouring
Step 1: Set Up Your Workspace
- Cover your surface with plastic or disposable sheets.
- Wear gloves and an apron to avoid mess.
- Elevate your canvas using cups or blocks to allow excess paint to drip off.
Step 2: Mix Your Paints
- In separate cups, mix one part acrylic paint to two parts pouring medium.
- Stir well to ensure a smooth consistency.
- Add a few drops of silicone oil (if desired) to create cells.
Step 3: Choose Your Pouring Technique
Now comes the fun part! Choose a technique that suits your vision:
Popular Acrylic Pouring Techniques
1. Dirty Pour
- Pour different colors into a single cup without mixing.
- Flip the cup onto the canvas and lift it to release the paint.
- Watch the colors merge into stunning swirls!
2. Flip Cup
- Layer multiple paint colors in a cup.
- Flip the cup upside down onto the canvas and let the paint spread.
- Tilt the canvas for added movement and flow.
3. Swipe Technique
- Pour paint onto the canvas in layers.
- Use a palette knife or damp paper towel to swipe across the paint, revealing colorful patterns and cells.
4. Puddle Pour
- Pour individual colors onto the canvas in small puddles.
- Let the colors interact naturally or tilt the canvas to encourage movement.
5. Dutch Pour
- Apply a base coat of white or black paint.
- Pour colors onto the canvas and use a hairdryer or straw to blow the paint outward.
- Creates delicate, feathery designs reminiscent of flowers or smoke.
Creating Cells & Patterns
Cells are beautiful bubbles of color that form within the pour, adding depth and contrast. Here’s how to enhance them:
1. Using Silicone Oil
- Add 2-3 drops of silicone oil to each paint cup.
- Mix gently to avoid breaking up the paint too much.
2. Applying Heat
- Use a torch or heat gun to pop air bubbles and bring out hidden cells.
- Keep the flame moving to avoid scorching the paint.
Finishing Your Acrylic Pour Artwork
Once your masterpiece is complete, it’s time to protect and enhance it.
Drying Your Painting
- Leave your artwork undisturbed for 24-48 hours.
- Ensure it is in a dust-free area to prevent imperfections.
Sealing with Varnish or Resin
- Varnish – Available in matte or glossy finishes to protect your work.
- Resin – Creates a glass-like, high-shine finish and enhances depth.
Pro Tips for Acrylic Pouring Success
✅ Test your paint consistency before pouring to avoid overly thick or thin mixtures.
✅ Experiment with color combinations—analogous colors create harmony, while complementary colors add contrast.
✅ Work quickly but thoughtfully—acrylic pouring is all about movement and flow.
✅ Embrace the unpredictability—sometimes the best designs come from happy accidents!
Conclusion
Acrylic pouring is a fantastic way to explore abstract expressionism, experiment with colors, and unleash creativity. With a few simple materials and techniques, you can create mesmerizing fluid artworks that are entirely unique.
Ready to start? Gather your supplies, set up your workspace, and dive into the magical world of acrylic pouring today! 🎨✨
📌 Want more inspiration? Check out our other guides on color theory, composition tips, and resin finishes for acrylic art!


