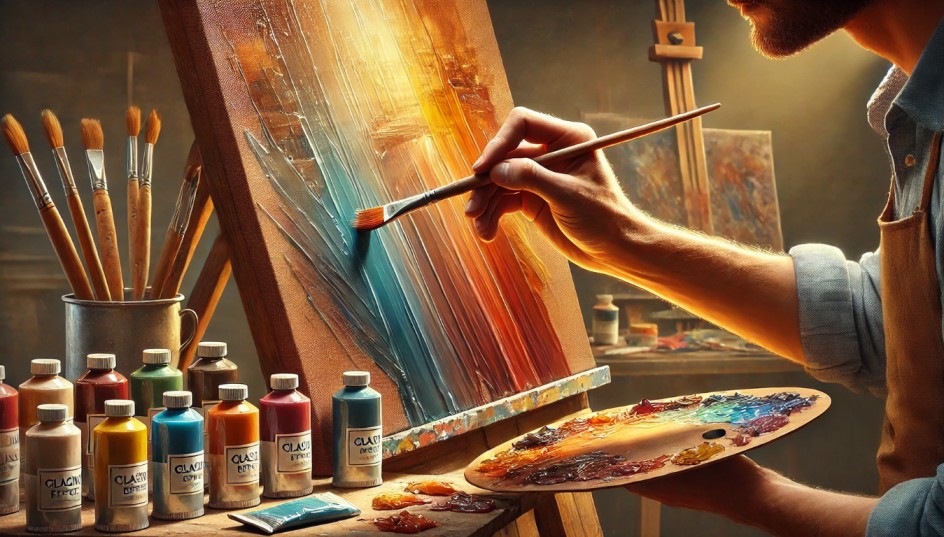
Acrylic painting is celebrated for its versatility, making it a favorite medium among artists of all skill levels. Among its numerous techniques, glazing in acrylic painting stands out as a powerful method for achieving depth, vibrancy, and realism. If you’re an art enthusiast or a budding painter looking to take your acrylic works to the next level, mastering glazing can transform your creative approach.
This guide will walk you through the fundamentals, techniques, and expert tips on how to use glazing effectively in acrylic painting.
What is Glazing in Acrylic Painting
Glazing in acrylic painting is the process of applying thin, transparent layers of paint over a dry base layer to modify color, enhance depth, and create luminous effects. Think of it as adding sheer veils of color that interact with the underlying layers, much like light filtering through stained glass.
Why Use Glazing?
✅ Adds depth and richness to colors
✅ Creates smooth transitions in shading
✅ Enhances light and shadow interplay
✅ Allows for precise color modifications
✅ Helps achieve photorealistic effects
Essential Supplies for Glazin
Before you begin, ensure you have the right tools to achieve smooth, flawless glazing effects.
1. Acrylic Paints
Choose high-quality, transparent or semi-transparent paints for the best glazing results. Some popular choices include:
- Phthalo Blue
- Quinacridone Magenta
- Burnt Sienna
- Indian Yellow
2. Glazing Medium
A glazing medium helps extend the drying time and improves transparency. Options include:
- Gloss Medium (for vibrancy and shine)
- Matte Medium (for a softer, non-glossy finish)
- Fluid Medium (for adjusting paint consistency)
3. Brushes & Tools
Use soft, synthetic brushes to create even, smooth layers. A flat or filbert brush works best for glazing.
4. Palette & Mixing Surface
A non-absorbent palette is ideal for mixing your glazes smoothly without the paint drying too fast.
Step-by-Step Guide to Glazing
Step 1: Prepare Your Canvas
Ensure your base layer is completely dry before applying any glaze to prevent unwanted mixing or smudging.
Step 2: Mix Your Glaze
Combine acrylic paint with a glazing medium in a 1:1 ratio for moderate transparency. Adjust the ratio for more transparency or opacity.
Step 3: Apply Thin, Even Layers
Using a soft brush, apply the glaze in thin, even coats. Avoid overloading the brush, as thick layers can become muddy.
Step 4: Let Each Layer Dry
Patience is key! Allow each glaze layer to fully dry before applying another to prevent unwanted blending.
Step 5: Repeat for Depth & Richness
Build up layers gradually to enhance depth and color complexity.
Glazing Techniques to Elevate Your Art
1. Creating Transparent Layers
Start with light glazes and gradually add deeper tones for seamless transitions.
2. Building Depth & Shadows
Use darker glazes in shadows and lighter glazes in highlights to create a three-dimensional effect.
3. Enhancing Colors with Glazing
Overlay complementary glazes to create vibrant color shifts. For example:
- A blue glaze over yellow creates a luminous green
- A red glaze over blue enhances richness in purples
4. Achieving Photorealistic Effects
Glazing helps in fine details and realism by allowing subtle color adjustments, ideal for skin tones, reflections, and textures.
Fixing Glazing Mistake
Even experienced artists face challenges. Here’s how to fix common glazing issues:
❌ Too Opaque?
➡ Thin the glaze with more medium or lift the excess with a damp brush.
❌ Streaky Layers?
➡ Use a softer brush and apply lighter pressure.
❌ Unwanted Color Shift?
➡ Apply a corrective glaze using a complementary color.
Case Study: Glazing for Photorealism
One of the most effective uses of glazing is in photorealistic painting. Artists use multiple transparent layers to replicate: ✅ Reflections on water
✅ Soft skin tones
✅ Glass or metal surfaces
For instance, an artist painting a realistic portrait may start with an underpainting in grayscale before glazing subtle color layers for a lifelike effect.
Pro Tips for Mastering Glazing
✅ Test your glaze on a scrap surface before applying to your painting.
✅ Work in layers rather than trying to achieve the final color in one go.
✅ Use a gloss medium to enhance vibrancy or a matte medium for a softer look.
✅ Experiment with color combinations to discover unique effects.
Conclusion
Glazing is a game-changer in acrylic painting, allowing artists to add depth, richness, and complexity to their work. Whether you’re a beginner exploring new techniques or a professional refining your craft, glazing offers endless possibilities for enhancing your paintings.
🔹 Ready to elevate your art? Start experimenting with glazing today! Share your experiences and techniques in the comments.
📌 Want to learn more? Join a workshop or follow our blog for more advanced painting tips!


