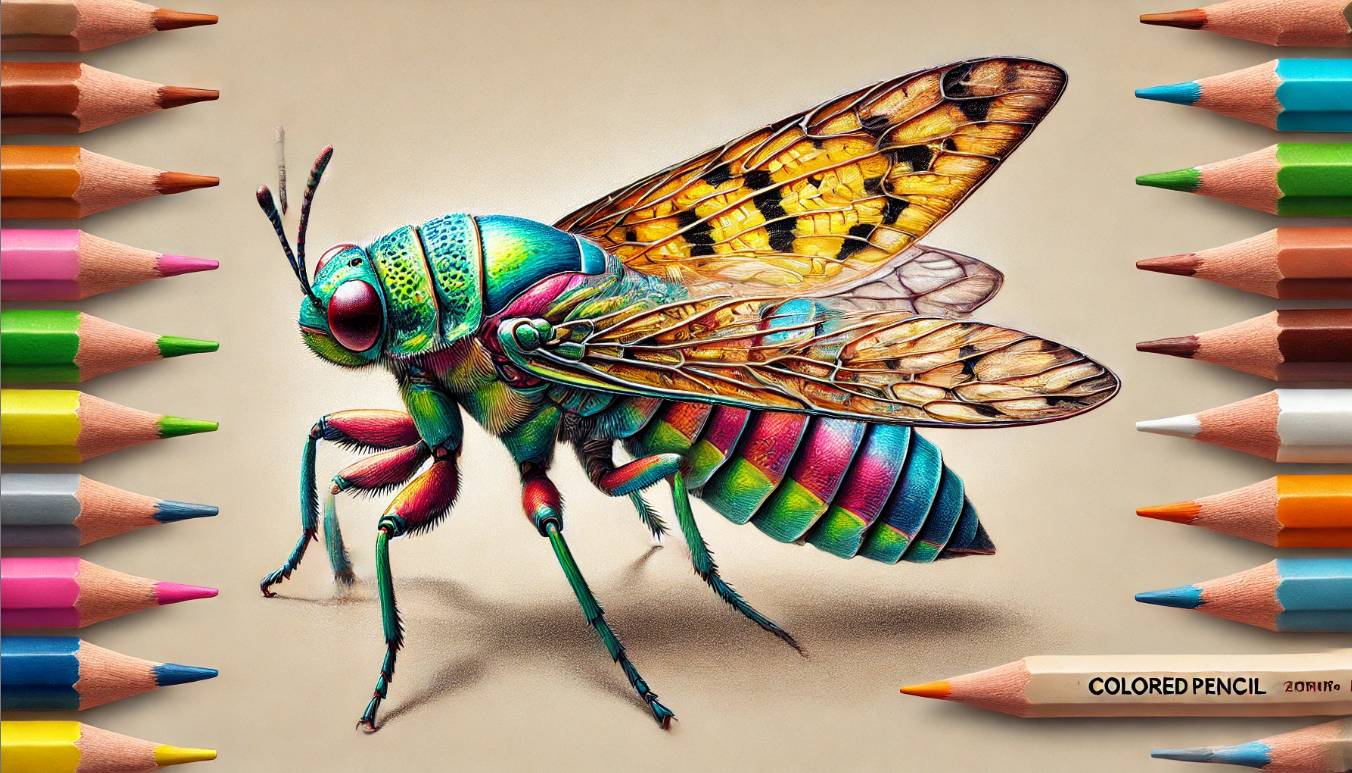
Why Illustrate Insects?
Insects, often overlooked in the grand scheme of nature, are fascinating subjects for artists. Their intricate patterns, iridescent hues, and diverse forms offer endless inspiration. Whether you’re a seasoned illustrator or just starting out, focusing on Detailed Insect Illustrations with Colored Pencils is both a challenge and an opportunity to sharpen your artistic skills. By capturing their delicate structures with precision and vibrancy, you can bring out the textures and colors often missed by the naked eye.
The Appeal of Insect Illustrations
Insects showcase an astonishing variety of shapes, colors, and textures, making them ideal for artistic exploration. From the transparent wings of a dragonfly to the metallic sheen of a beetle, each insect presents a unique challenge. The art of insect illustration also serves a scientific purpose—helping document species, identify characteristics, and highlight their ecological importance. Through your work, you can merge art with science, creating pieces that are both beautiful and educational.
Essential Materials for Insect Illustrations
Best Colored Pencils for Vibrant Detail
Choosing the right colored pencils is crucial for achieving crisp details and smooth blending. Professional-grade brands such as Prismacolor, Faber-Castell Polychromos, and Caran d’Ache Luminance offer excellent pigment quality, allowing for fine detailing and realistic color transitions. These pencils provide smooth application and layering, which is essential when illustrating textures like exoskeletons or delicate wings.
Choosing the Right Paper & Tools
- Paper: Opt for Bristol board or hot-pressed watercolor paper for a smooth surface that allows for precise details.
- Fine-Tipped Pens: Great for adding microscopic details or emphasizing textures.
- Blending Stumps: Useful for creating seamless transitions between colors.
- Precision Erasers: Helps in refining highlights and intricate areas.
- Magnifying Glass or Digital Zoom: Enhances observation of fine details, ensuring anatomical accuracy.
Step 1: Research & Observation
Studying Insect Anatomy
To illustrate insects accurately, start by understanding their basic anatomy. Familiarize yourself with their segmented bodies: head, thorax, abdomen, legs, wings, and antennae. Study how these components interact and how light affects their surfaces. Observing insects under natural light or a macro lens can reveal hidden details that elevate your artwork.
Using Reference Photos & Real-Life Observations
Collect high-quality reference images from books, scientific journals, or macro photography. If possible, observe live insects in their natural habitat. Sketch quick studies to understand their movement and structure before committing to a final composition.
Step 2: Sketching the Foundation
Breaking Down the Form into Simple Shapes
Start with basic geometric forms to establish proportions. Use circles and ovals for the head and thorax, elongated shapes for the abdomen, and thin lines for the legs and antennae. This step helps you maintain balance and symmetry before refining details.
Composing the Illustration
Decide on the insect’s pose and orientation. Consider whether you want a realistic, scientific rendering or a more stylized, artistic interpretation. Ensure correct proportions and perspective before moving to details.
Step 3: Adding Details & Textures
Capturing Exoskeleton Textures & Wing Transparency
- Beetles & Hard-Shell Insects: Use smooth gradients and subtle highlights to mimic their reflective exoskeletons.
- Butterflies & Dragonflies: Layer light strokes to depict the delicate, almost transparent nature of their wings. Add fine veins with a sharp pencil or fine-liner.
- Furry Insects (Bees, Moths): Use short, fine strokes to mimic hair textures and create a sense of dimension.
Drawing Legs, Antennae & Small Details
Legs and antennae require thin, controlled strokes to maintain precision. Use gradual shading to create depth, making them appear three-dimensional.
Step 4: Choosing & Layering Colors for Depth
Understanding Color Theory for Realism
Insect colors are often iridescent, vibrant, or highly contrasting. Study their natural hues and how they shift in light. Use:
- Complementary Colors: To enhance contrast (e.g., deep reds against greens).
- Gradual Blending: To create smooth transitions, mimicking real-life color shifts.
Blending Techniques for Natural Effects
Layer colors lightly and gradually to build richness without muddying tones. Use a colorless blender pencil or a light-colored pencil to smooth out harsh edges.
Step 5: Enhancing Depth with Highlights & Shadows
Light Source & Shadow Placement
Decide on a primary light source to create depth. Use darker tones where shadows fall and sharp highlights on reflective areas like exoskeletons or wet wings.
Creating a Three-Dimensional Effect
- Use a white pencil or gel pen to add final highlights.
- Darken the background or ground shadow to make the insect stand out.
Final Steps: Refining & Presenting Your Work
Refining Edges & Small Details
Go over your drawing to sharpen edges, refine textures, and deepen shadows. This step ensures a polished and professional look.
Using Fixatives & Framing for Longevity
Spray a workable fixative to protect the layers from smudging. If framing, use UV-protected glass to prevent fading over time.
Case Study: Illustrating a Realistic Bee
Step-by-Step Breakdown
- Sketch the basic shape to establish proportions.
- Outline the anatomical details, focusing on leg joints and body segmentation.
- Layer base colors lightly, adding depth gradually.
- Refine hair textures using short, fine strokes.
- Enhance highlights and shadows to create depth and realism.
Capturing Hair & Reflective Surfaces
For bees, use a mix of soft strokes for fuzziness and precise highlights for shine, ensuring a balanced contrast between textures.
Avoiding Common Mistakes
1. Overworking the Paper
Too many layers can damage the paper’s surface. Use light strokes and build up gradually.
2. Misjudging Proportions
Constantly compare different body parts to maintain anatomical accuracy.
3. Choosing the Wrong Colors
Use references to match hues accurately instead of relying on memory.
Conclusion: Elevate Your Insect Illustrations
Mastering insect illustrations requires patience, observation, and practice. Whether you’re creating art for scientific documentation or personal enjoyment, focusing on anatomy, textures, and color layering will help you bring these miniature marvels to life. With the right techniques and dedication, your colored pencil insect drawings can be both stunning and highly detailed representations of nature’s tiny wonders.


