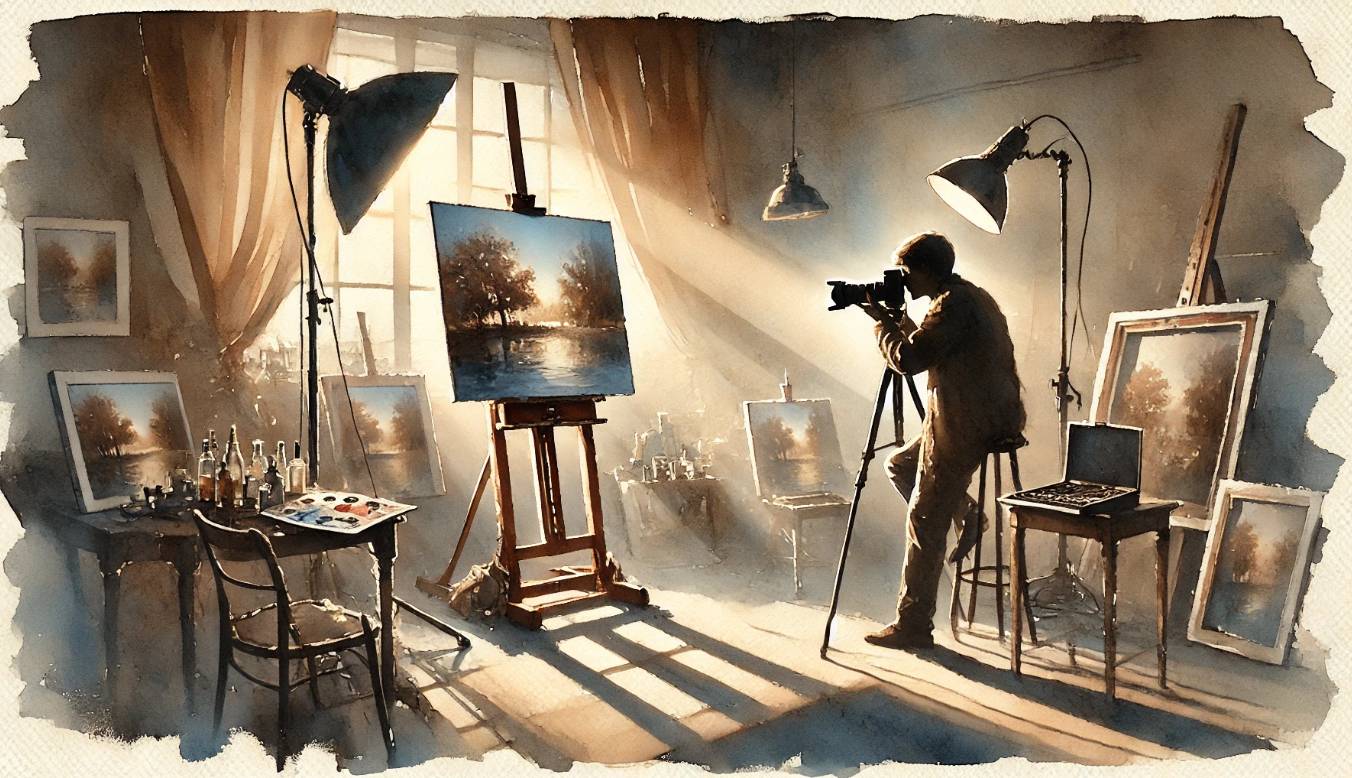
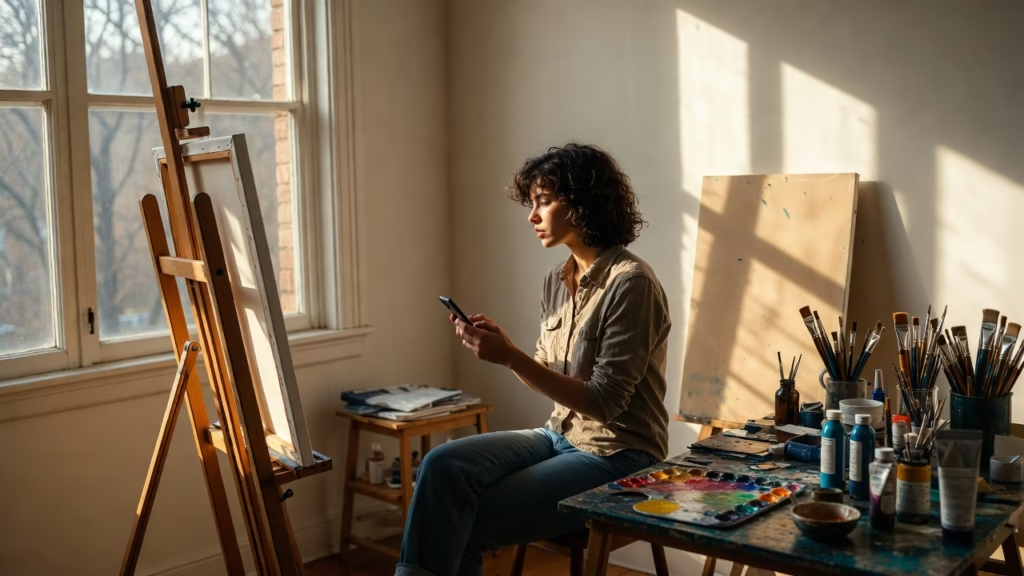
When it comes to presenting your artwork, first impressions matter. Just like in a gallery, where lighting and framing can make or break the display, online presentations depend entirely on your photos. Imagine you’ve poured countless hours into creating a beautiful painting, only for potential buyers to scroll past it because the photo doesn’t do it justice. That’s how crucial it is to get your photos right.
Importance of Visual Presentation
The importance of visual presentation in photographing your artwork cannot be overstated, especially in today’s digital age. When people view art online or in a portfolio, the photograph becomes the sole medium through which they experience the artwork. This means that the quality of the photo directly influences how your artwork is perceived, and can either enhance or diminish its impact.

Capturing the Essence of Your Artwork
Your artwork may have vibrant colors, intricate details, or striking textures that make it special, but if the photo fails to convey these elements, viewers won’t appreciate the full beauty of your work. A well-taken photograph allows the audience to connect with your piece, showing the subtleties of your craftsmanship. On the other hand, poor-quality photos—those that are blurry, dark, or distorted—can strip away the depth and character of your artwork, leading viewers to overlook it entirely.
First Impressions Matter
When someone comes across your artwork online, whether on a social media platform, portfolio, or sales page, they are forming a first impression within seconds. If your photo is clear, well-lit, and professionally presented, it gives the impression that your artwork is of high quality. It also suggests that you are serious about your craft. This first impression is crucial because it can be the deciding factor in whether someone chooses to explore more of your work, inquire about purchasing, or even commission a piece from you.
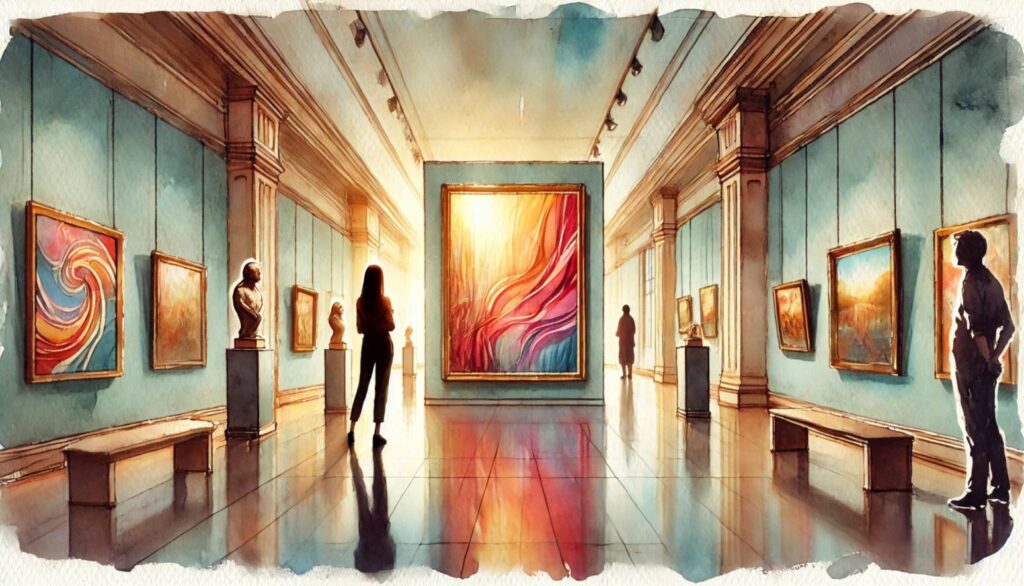
Building Trust with Buyers
In online sales, buyers don’t have the advantage of seeing the artwork in person. They rely entirely on photos to understand the dimensions, texture, and quality of the piece. Clear, detailed photographs build trust with potential buyers by giving them confidence that they know what they’re purchasing. If your photos are unclear or fail to show key details, buyers may hesitate, unsure of what they’re getting. Conversely, professional-quality images allow them to feel assured that your work is worth their investment.
Standing Out in a Competitive Market
The online art world is highly competitive, with thousands of artists showcasing their work every day. High-quality visuals help your artwork stand out in the crowd. Platforms like Instagram, Etsy, and online galleries prioritize eye-catching content, and the better your photos, the more likely you are to be featured or noticed by art collectors, gallery curators, and even potential clients.
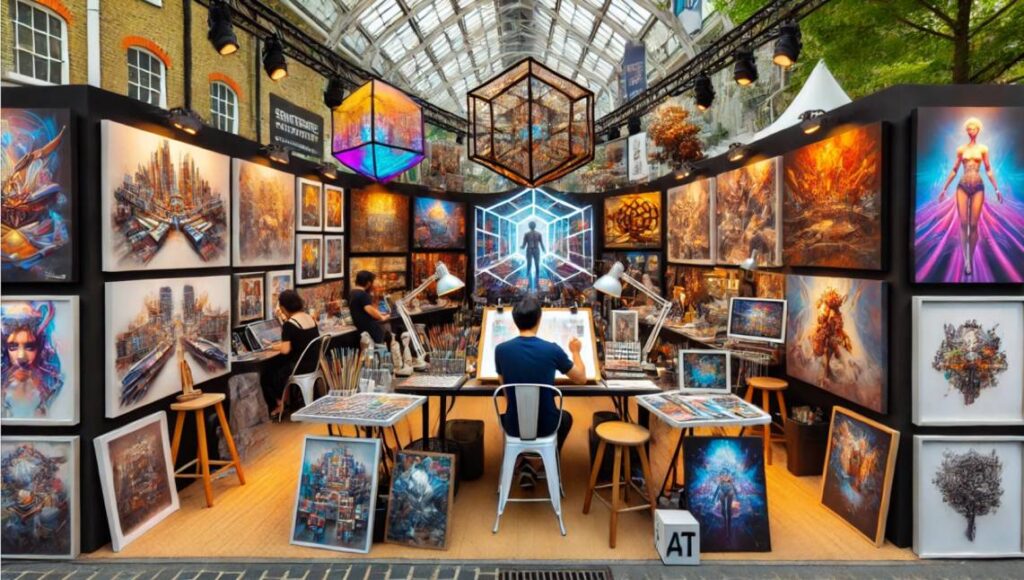
Demonstrating Professionalism
When you take the time to present your artwork professionally, it demonstrates a level of care and dedication that appeals to galleries, collectors, and collaborators. It shows that you take your art seriously, and this attention to detail extends beyond just the creation of the piece—it shows in how you share it with the world. Whether you’re submitting your work to galleries, applying for exhibitions, or selling directly to buyers, professional presentation is a reflection of your overall artistic brand.
How Photos Affect Sales and Portfolio Reviews
Photographs of your artwork play a crucial role in influencing both sales and portfolio reviews, serving as the primary representation of your work in a digital or professional setting. Since the vast majority of people who encounter your artwork will do so through images—whether online or in printed portfolios—the quality and presentation of those photos have a direct impact on the viewer’s perception, decision-making, and ultimately, your success.

Impact on Online Sales
In online art sales, potential buyers rely entirely on photographs to make purchase decisions. Unlike in a physical gallery, they can’t examine the artwork up close, feel the texture, or appreciate the depth and details in person. Therefore, your photographs need to communicate as much as possible about the piece, from its colors and texture to its size and overall aesthetic.
the likelihood of misunderstandings about the artwork’s size, colors, or finish. This not only boosts buyer confidence but can also reduce returns or disputes over misrepresented products.
Here are a few key ways in which photos affect sales:
- Trust and Transparency: Buyers want to feel confident that the artwork they’re purchasing matches what they see online. High-quality, detailed photos provide a clear and accurate representation of your work, building trust with buyers. Multiple photos from different angles, close-ups of textures, and context shots showing scale (like the artwork in a room) further help buyers feel secure in their purchase.
- Buyer Engagement: Eye-catching, well-lit images are more likely to grab the attention of online shoppers, leading them to stop scrolling and take a closer look at your work. First impressions matter, and an attractive photo can make the difference between a sale and a missed opportunity. Photos that accurately capture the beauty and intricacy of your artwork can ignite an emotional connection with buyers, making them more likely to invest in your piece.
- Perceived Value: The quality of your photos can also influence how much buyers are willing to pay for your work. High-resolution, professional-looking images give the impression that the artwork is valuable and worth the price you’re asking for. In contrast, poor-quality, grainy, or poorly lit photos may lead buyers to question the quality of the artwork itself, resulting in lower bids or no interest at all.
- Reducing Uncertainty: Clear, professional photos help to eliminate the uncertainties that often accompany online purchases. By providing accurate, well-lit images, you reduce the likelihood of misunderstandings about the artwork’s size, colors, or finish. This not only boosts buyer confidence but can also reduce returns or disputes over misrepresented products.
Essential Tools for Photographing Artwork
Photographing your artwork with the right tools is crucial for ensuring high-quality images that accurately represent your work. While it’s possible to get good results without a large investment in equipment, understanding the essential tools and how to use them effectively will help you achieve professional-looking photographs. Below are some of the most important tools you’ll need for photographing your artwork:
1. Camera Equipment: Smartphones vs. Professional Cameras
The camera you use is the foundation of your setup. Fortunately, you don’t need a top-tier professional camera to capture great shots—modern smartphones can also do the job well, but understanding the pros and cons of each option will help you make the best choice for your needs.
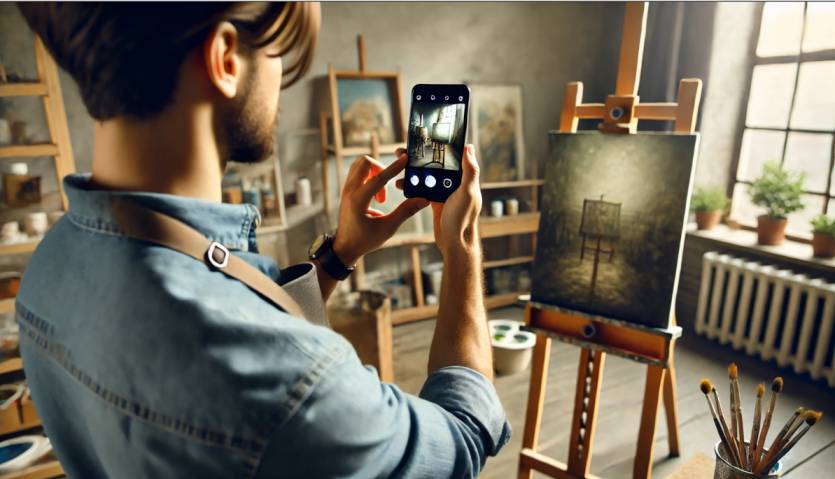
- Smartphones: Most smartphones today come with advanced cameras that can capture sharp, detailed images. They are convenient and easy to use, making them a great option for beginner artists or those who want a quick, portable solution. Features like portrait mode and adjustable exposure give you some control over the outcome, but smartphones are more limited in manual settings like ISO, white balance, and shutter speed compared to professional cameras
- DSLR or Mirrorless Cameras: If you have access to a DSLR or mirrorless camera, you can gain far more control over the final image. These cameras allow you to adjust critical settings like aperture, shutter speed, and ISO, which can be particularly useful in low-light conditions or when trying to minimize glare and distortion. You’ll also get higher resolution images, which is particularly helpful for large prints or high-detail pieces of art. In short, while smartphones can work well for many scenarios, DSLR and mirrorless cameras offer greater precision and flexibility, especially for serious artists.
2. Tripod: Stability for Sharp Images

A tripod is an invaluable tool for photographing your artwork, regardless of whether you’re using a smartphone or a professional camera. A tripod helps to:
- Reduce camera shake: Even the slightest movement can result in blurry images, especially when shooting in low light or with longer exposure times. A tripod stabilizes your camera, ensuring sharp, clear photos.
- Maintain consistent angles: For larger pieces or series of works, using a tripod allows you to keep the camera at a consistent height and angle, which is helpful if you want uniformity across your portfolio.
- Free your hands: Having your camera mounted on a tripod allows you to focus on adjusting the lighting or the artwork itself without having to worry about holding the camera steady.
When choosing a tripod, look for one that is sturdy, adjustable, and compatible with your camera or smartphone. Many tripods come with smartphone adapters if you’re using a mobile device for photography
3. Lighting Equipment: Natural Light vs. Artificial Light
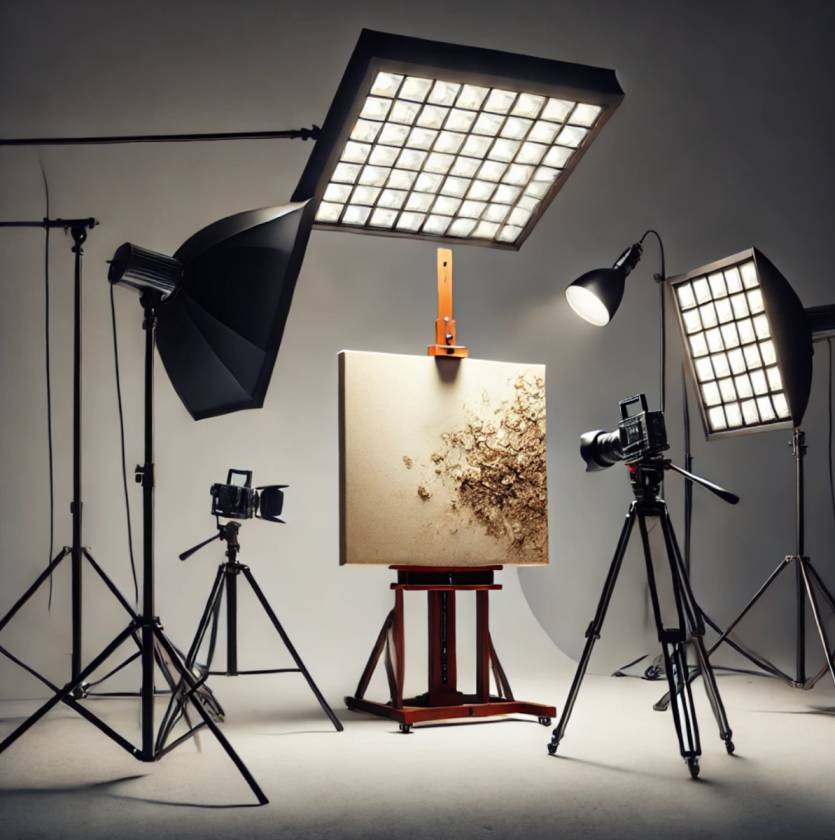
Lighting is arguably the most important element in photographing your artwork. Whether you choose to use natural light or artificial lighting depends on your environment, but in both cases, the goal is to create soft, even lighting that highlights your artwork without creating harsh shadows or glares.
- Natural Light: If you have access to abundant natural light, it can be your best ally for photographing artwork. North-facing windows are ideal because they offer soft, diffused light throughout the day. The key is to avoid direct sunlight, which can create strong shadows and uneven highlights. You may need to photograph during specific times of day when the light is softer, such as early morning or late afternoon.
- Artificial Lighting: If natural light is not available or consistent, artificial lighting kits are a must. A good lighting kit typically includes softbox lights or LED panels that provide even, diffused light, replicating the softness of natural daylight. Positioning lights on either side of your artwork at about a 45-degree angle helps to evenly illuminate the piece and minimize shadows or glare.
For artists photographing reflective or textured works, having control over artificial light can make a big difference in capturing the details. Consider adding diffusers to soften the light and reflectors to bounce light back onto the artwork, ensuring an even spread of illumination.
4. Backdrops: Clean, Neutral Backgrounds

The background you use for photographing your artwork is important for creating a professional, distraction-free presentation. Depending on the type of artwork, here are some options to consider:
- Flat, Neutral Walls: For 2D works like paintings or drawings, a plain white or neutral-colored wall is ideal. This ensures that the focus remains on your artwork and not on any distracting elements in the background. If you don’t have access to a suitable wall, you can use large sheets of white or gray paper as a backdrop.
- Seamless Paper: For smaller works, especially if you want to avoid the distraction of corners or textures from walls, you can use seamless paper backdrops. This is a roll of paper that creates a clean, continuous background when placed behind and under your artwork. It’s particularly useful for photographing sculptures or objects that need a clear, smooth environment.
- Contextual Backgrounds: Sometimes, especially for 3D artworks or sculptures, adding a subtle textured or styled background can enhance the photograph. For instance, using a backdrop that complements the material or tone of your sculpture can provide additional context or create an engaging visual effect. However, make sure the background doesn’t overpower or detract from the artwork itself.
5. Light Reflectors and Diffusers

- Reflectors: A reflector helps to bounce light back onto your artwork, filling in shadows and providing more even illumination. They come in various colors:
- White: Provides neutral, soft light.
- Silver: Reflects strong, bright light, ideal for increasing highlights.
- Gold: Adds a warm tone, which can be helpful for pieces that benefit from warmer light.
- White: Provides neutral, soft light.
- Diffusers: A diffuser softens harsh lighting, creating a more natural and even light. This is especially useful if you’re working with direct sunlight or strong artificial lights that might cast hard shadows or create glare on glossy surfaces.
6. Gray Card or Color Checker
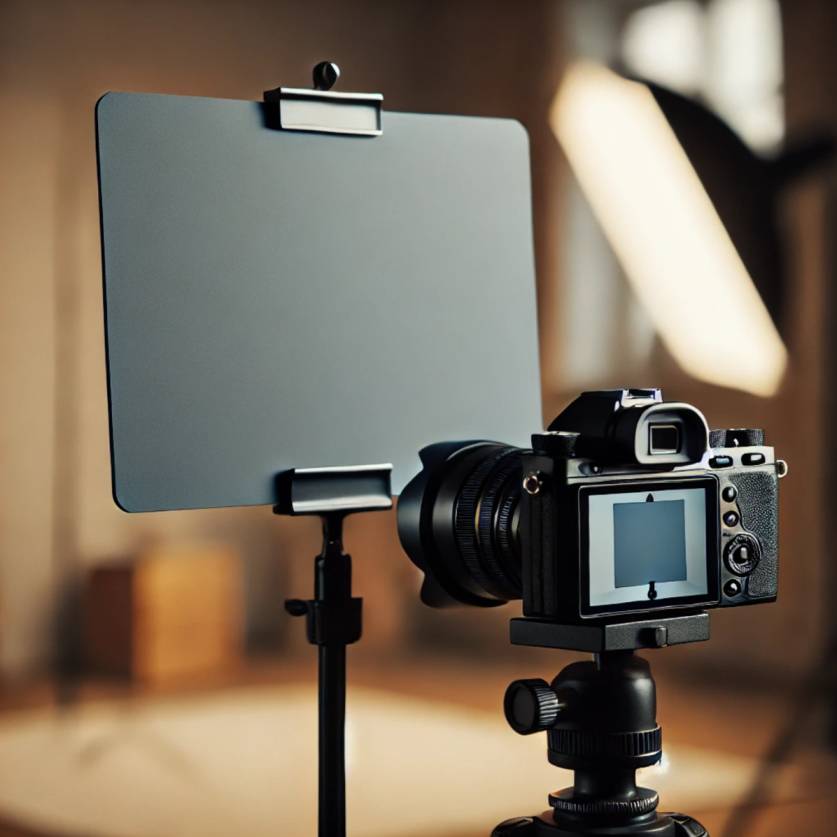
- A gray card is used to set the correct white balance in your camera, ensuring that the colors in your photo are accurate and match your artwork. By photographing the gray card under your current lighting conditions and adjusting your camera’s settings accordingly, you can avoid color casts that might distort your artwork’s true colors.
- A color checker is an advanced tool that includes various color swatches. It can be used in post-processing to ensure precise color correction, which is especially important for artists who want to represent their work as accurately as possible.
7. Remote Shutter Release or Camera Timer
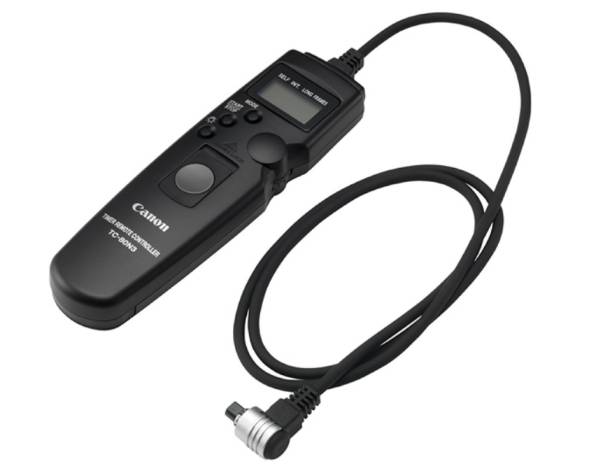
A remote shutter release allows you to take photos without physically touching the camera, which prevents any movement or shake that might blur the image. Many modern cameras have built-in Bluetooth or Wi-Fi capabilities, so you can control them remotely through an app on your phone. If your camera doesn’t have this option, using the camera’s self-timer can achieve the same effect.
8. Backdrop Stand or Clamps
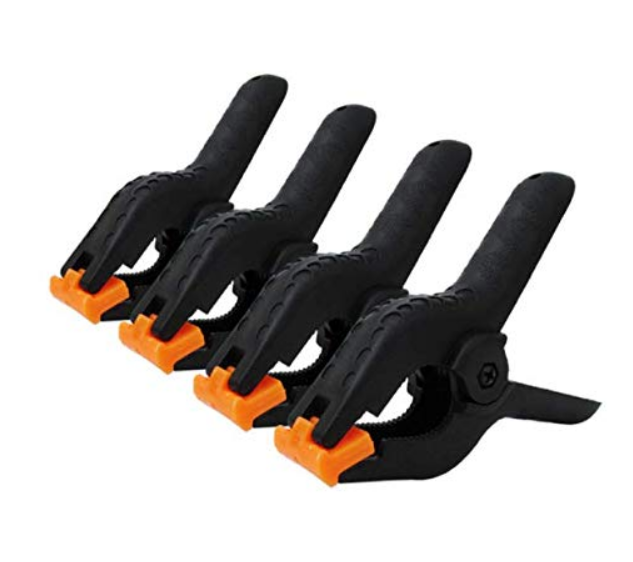
If you’re using a fabric or paper backdrop for your artwork, a backdrop stand can help keep it smooth and wrinkle-free, ensuring a clean, professional look. Alternatively, you can use clamps to secure your backdrop to a wall or surface. This is particularly useful for large-scale works or when shooting in a space that doesn’t have a dedicated photography setup.
9. Polarizing Filter
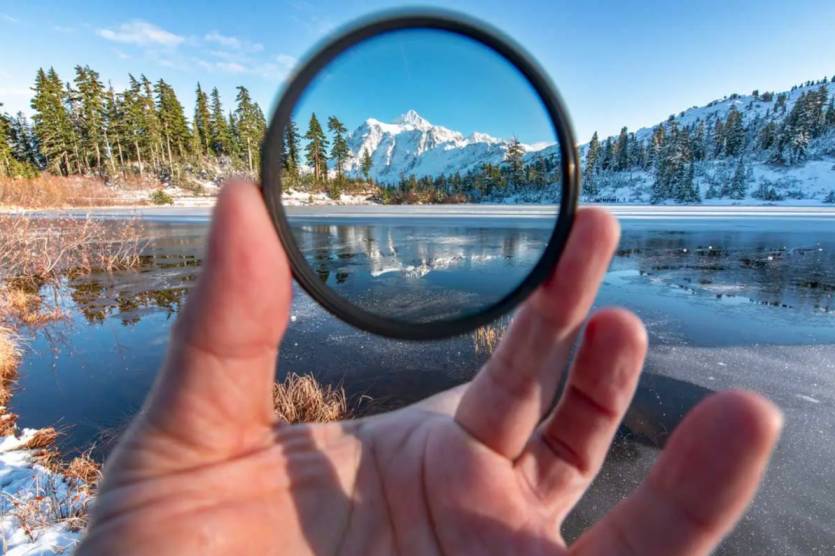
A polarizing filter is a great tool for reducing glare and reflections, especially on glossy artwork or pieces framed behind glass. By attaching this filter to your camera lens, you can minimize reflections from lights or windows, ensuring the artwork itself is the focus, not unwanted glare.
10. Softbox or Light Modifiers
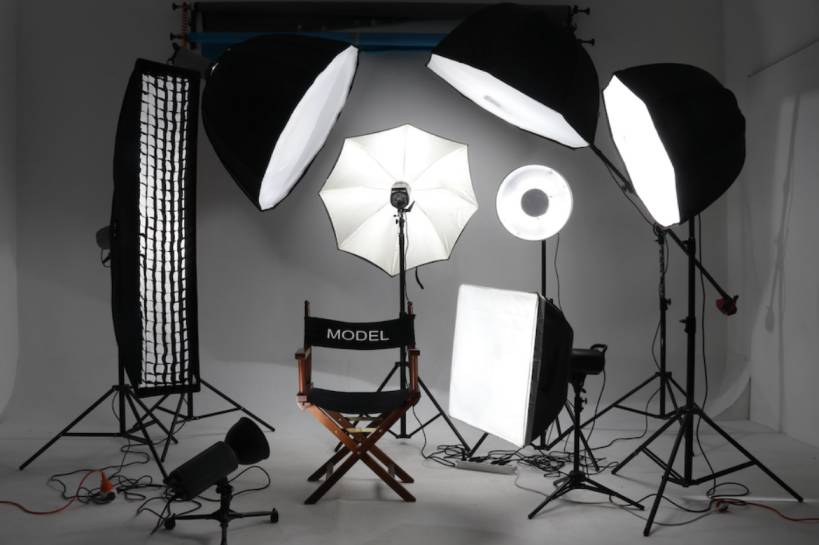
If you’re using artificial lights, softboxes or other light modifiers help to soften and diffuse the light, creating a more natural appearance. Softboxes direct light in a controlled way, reducing harsh shadows and providing a more uniform lighting effect. This is especially helpful for 3D artwork, sculptures, or pieces that have texture and depth.
11. Bubble Level for Tripod
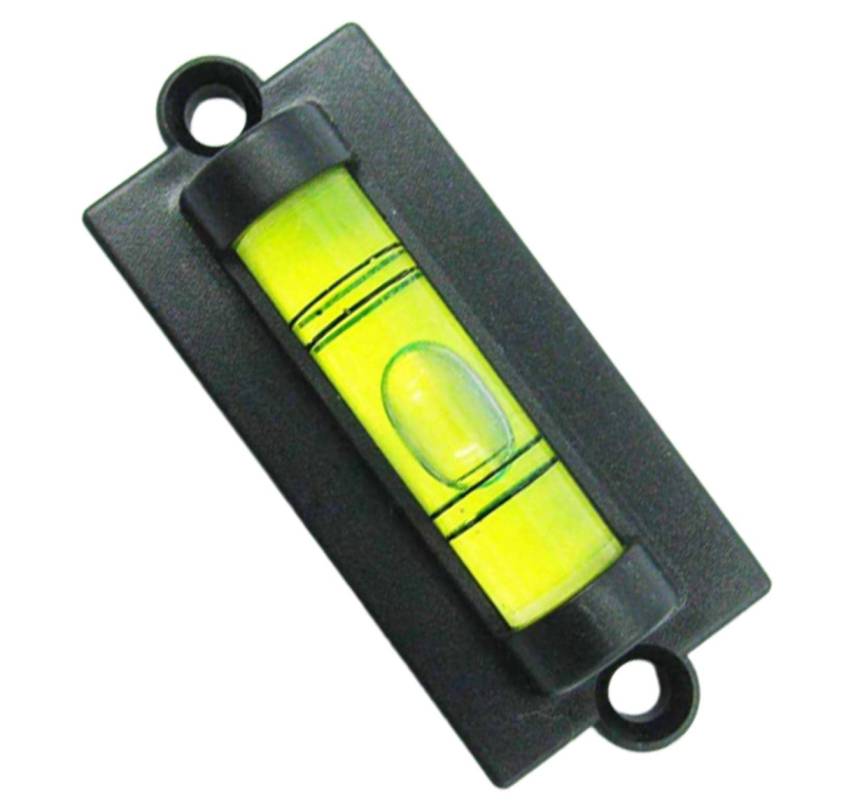
A bubble level is a simple yet effective tool for ensuring that your camera is perfectly level. This is particularly important when photographing flat artwork such as paintings or drawings, where even a slight tilt can cause distortion. Many tripods come with built-in levels, but if yours doesn’t, you can attach a small bubble level to your camera’s hot shoe mount.
12. Turntable for 3D Artwork
For artists who work with sculptures or other 3D art, a turntable allows you to photograph your piece from multiple angles without moving the artwork itself. Simply rotate the turntable to capture different perspectives, which can be useful for online listings, portfolios, or creating a 360-degree view of your work.
13. Lens Cleaning Kit
Dust or smudges on your camera lens can affect the clarity of your photos. A lens cleaning kit typically includes:
- Lens cleaning solution or wipes for safely removing fingerprints or smudges.
- Microfiber cloth for gentle cleaning.
- Blower brush for removing dust from the lens or camera body.
Keeping your lens clean ensures that your photos are sharp and clear, allowing the details of your artwork to shine.
14. Photo Editing Software: Polishing Your Photos
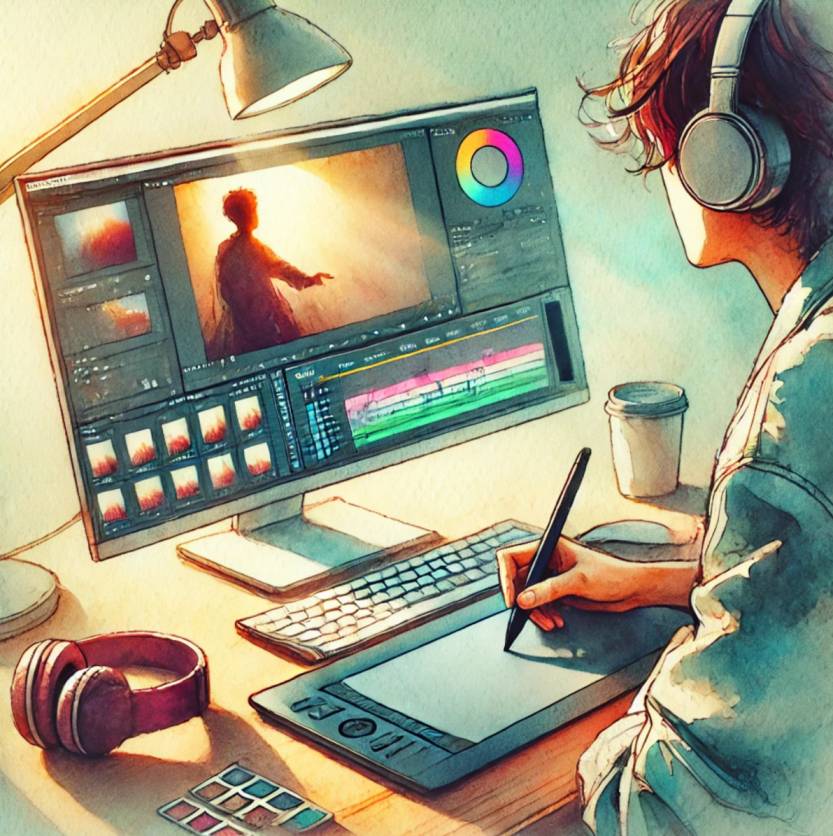
Even with the best equipment, your photos will often need a bit of editing to look their best. Photo editing software allows you to adjust the colors, exposure, contrast, and sharpness of your images to ensure they accurately represent your artwork.
- Adobe Photoshop/Lightroom: These are industry-standard tools for photo editing, offering a wide range of features from basic adjustments to more advanced retouching techniques. Lightroom is excellent for batch editing multiple images and making quick, universal adjustments to lighting and color, while Photoshop offers more precise control over specific areas of the image.
Mobile Editing Apps: If you’re working with smartphone images, apps like Snapseed or VSCO can be great for quick adjustments on the go. These apps allow you to enhance brightness, contrast, and sharpness with just a few taps.
If you want to learn how to take professional-quality photos of your artwork, from setting up the perfect lighting to capturing every detail with clarity, check out our full guide. It covers everything you need to know to showcase your art in the best possible way

