Art supplies storage and organization is the system that keeps your materials findable, usable, and safe — sorting every item by type, containing each group in labelled storage, and protecting paint, brushes, and paper from the heat, moisture, and air that degrade them. A good system does two jobs at once: it clears your workspace and it extends the life of what you own.
Most storage guides stop at “buy a cart and some jars.” That tidies a desk, but it ignores the part that actually saves money — materials are perishable and some are flammable. This guide builds the whole system: first the sort, then space-saving storage you can fit anywhere, then how to store each material so it lasts for years, and finally the studio-safety rules that keep solvent and oil-soaked rags from becoming a fire. If you are setting up a room from scratch, pair this with our guide to building a home art studio.
Storage solutions at a glance
The right storage depends on what you own most of and how much floor space you can spare. This table compares the solutions artists reach for most, so you can match a tool to your kit before you buy anything.
| Storage solution | Best for | Footprint | Rough cost |
|---|---|---|---|
| Rolling utility cart (2–3 tiers) | Active, everyday supplies you move between spots | Small, vertical | $30–$80 |
| Drawer unit (e.g. 9-drawer cabinet) | Paint tubes, pencils, markers sorted by type | Medium | $40–$130 |
| Pegboard wall | Scissors, rulers, brushes, tools you reach for often | Wall only (zero floor) | $20–$60 |
| Clear stackable bins | Bulk and backup supplies, seasonal mediums | Shelf or closet | $15–$50 |
| Flat file / portfolio | Paper, finished work, canvases stored flat | Medium–large | $25–$300 |
| Glass jars and cups | Brushes and pencils stored upright, on display | Tiny | $0–$15 |
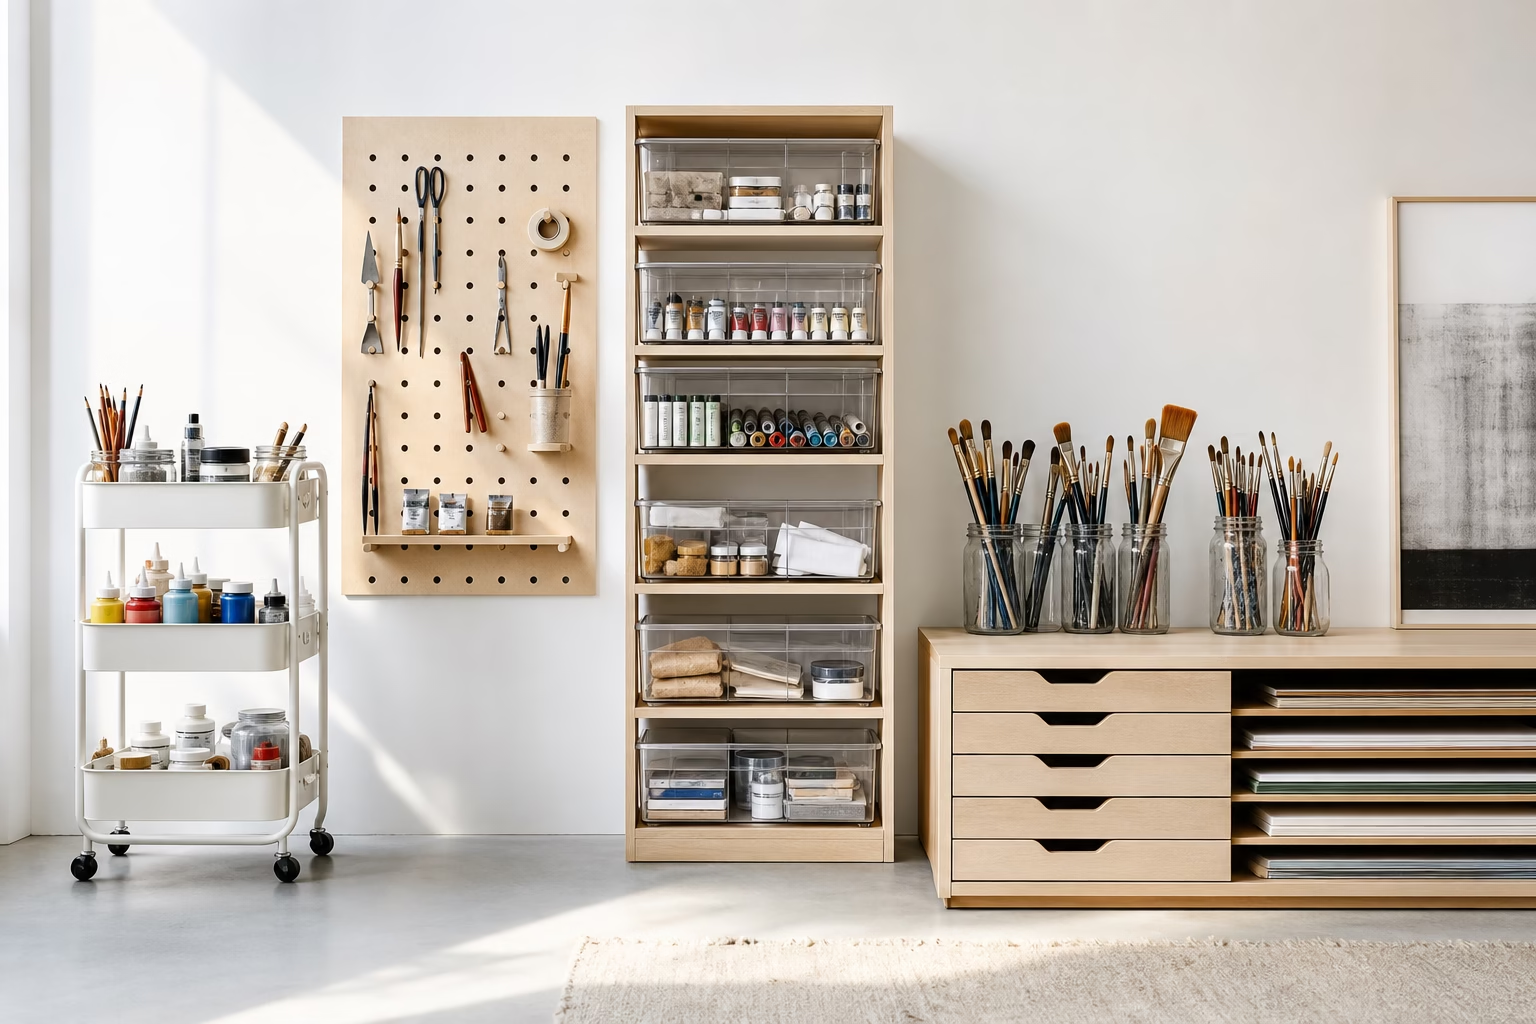
Start by sorting, not by shopping
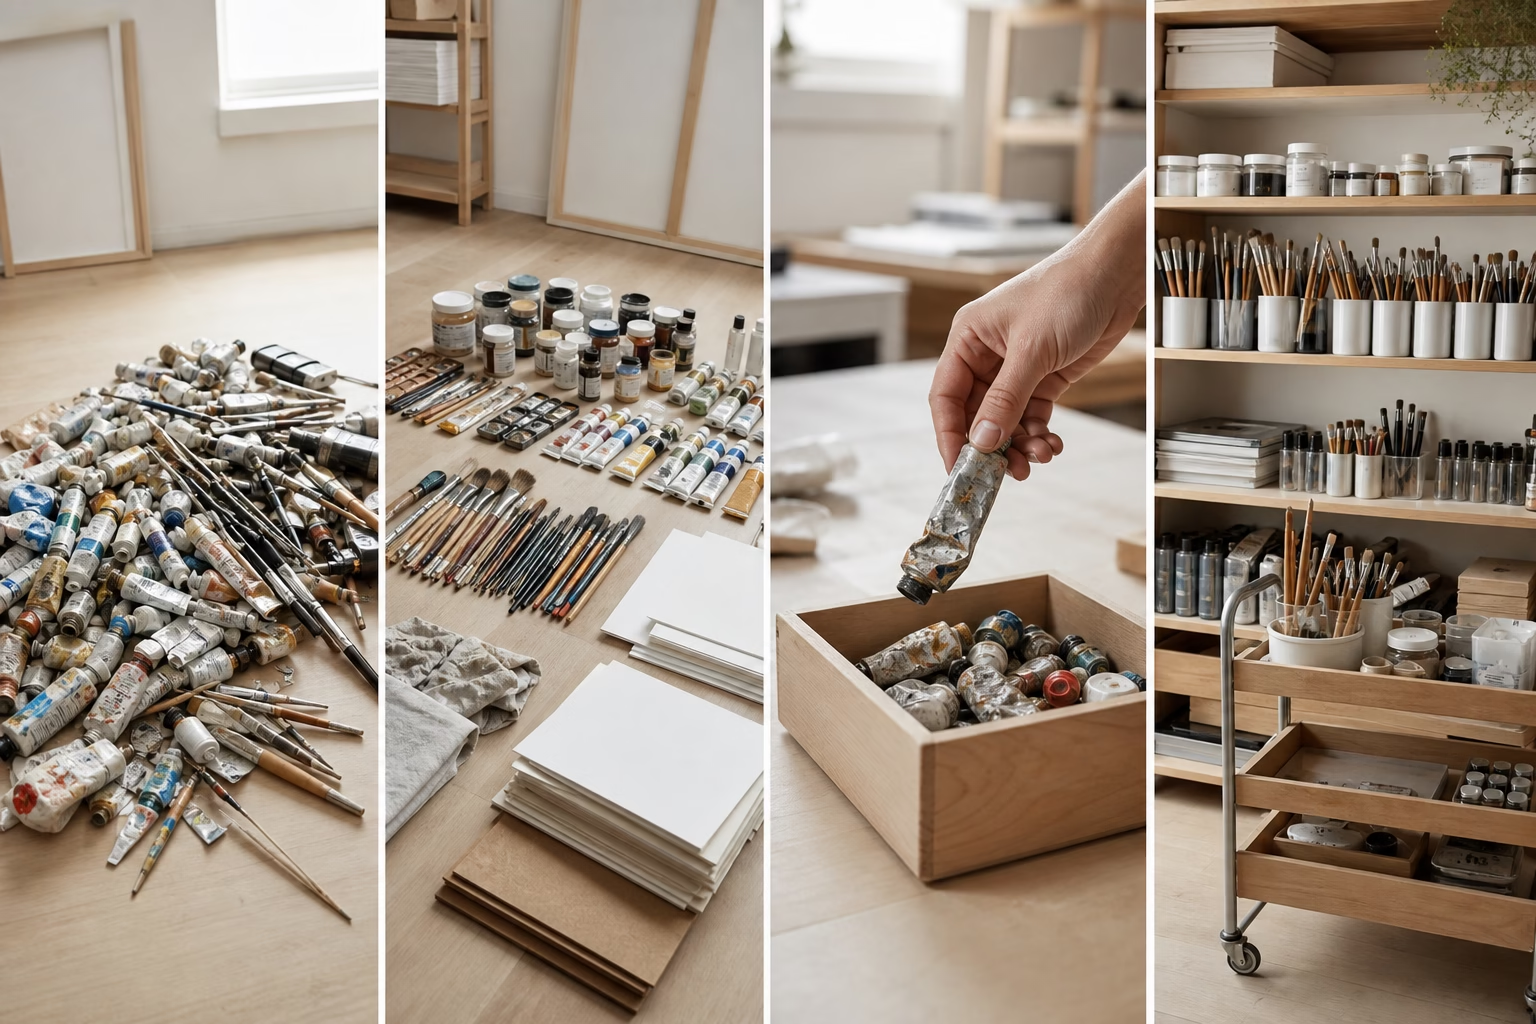
Sorting is the first and most important step of art supply organization, because you cannot choose containers for a collection you have not measured. Gather every supply into one place, group like with like, remove what is dead or unused, then assign each group a zone. Buying bins first only relocates the clutter.
Professional organizers and artists who have applied Marie Kondo’s KonMari method to craft supplies describe the same four-step sequence. Work through it in order:
- Gather everything in one place. Pull supplies from every closet, drawer, and box and pile them on the floor by category — paint, brushes, paper, drawing media, tools. Seeing the full collection at once is the only way to grasp how much you actually own.
- Sort by category, then by medium. Group all paint together, then split it into acrylic, oil, watercolor, and gouache. Do the same for dry media and tools. Then zone by purpose, not just by type: store watercolor paper with the watercolor paint and drawing paper with the pencils, so everything a single session needs already lives together. Grouping by medium mirrors how you work and how you will later store each material.
- Declutter honestly. Pick up each item and ask whether it is still usable and still part of the art you make now. Toss anything dried, cracked, or expired; rehome supplies from a medium you have abandoned. The KonMari “does it spark joy?” test works here precisely because a supply you avoid is one you will never reach for.
- Assign zones. Give the supplies you use daily prime, reach-from-your-seat real estate; send bulk and backup stock to deep storage like under-bed bins or a high shelf. Keeping go-to materials visible matters — you are most likely to use what you keep seeing.
Storage that fits a small space
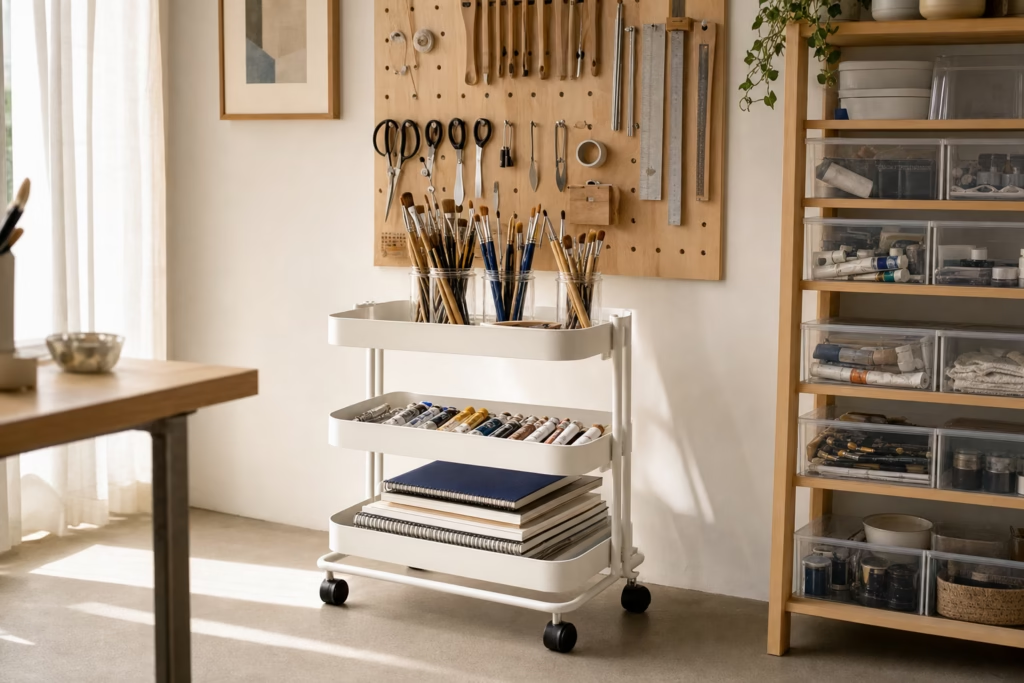
Small-space storage works by going vertical: a footprint the size of a single floor tile can hold a cart, a pegboard, and a stack of bins if you build upward instead of outward. The goal is maximum capacity per square foot, with your most-used supplies at arm’s reach and everything else stacked above or tucked below.
Rolling utility cart
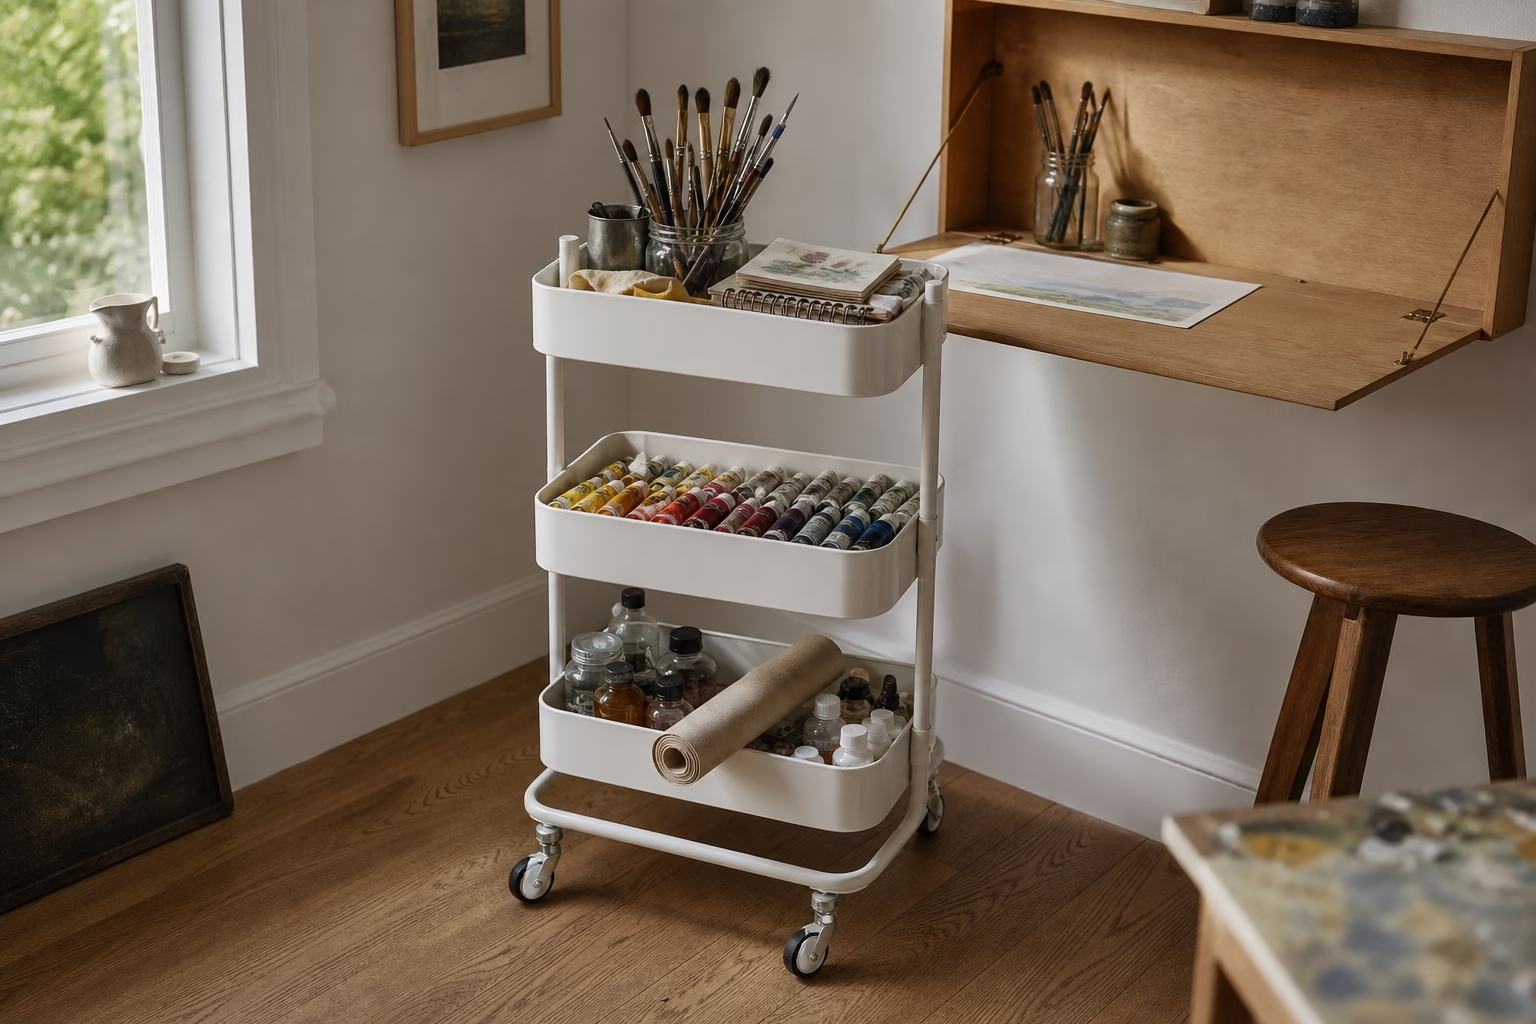
A rolling utility cart is the single best starting point for a small studio. Its two or three tiers give paints, brushes, and a sketchbook their own levels, and because the storage is vertical it takes minimal floor space while wheeling to wherever you are working. IKEA’s Råskog cart became an artist staple for exactly this reason. Load the top tier with daily tools and the lower tiers with heavier supplies for stability.

Real pick: IKEA RÅSKOG Utility Cart — the artist-studio staple this section describes: three mesh tiers, lockable castors, ~40 lb capacity ($39.99).
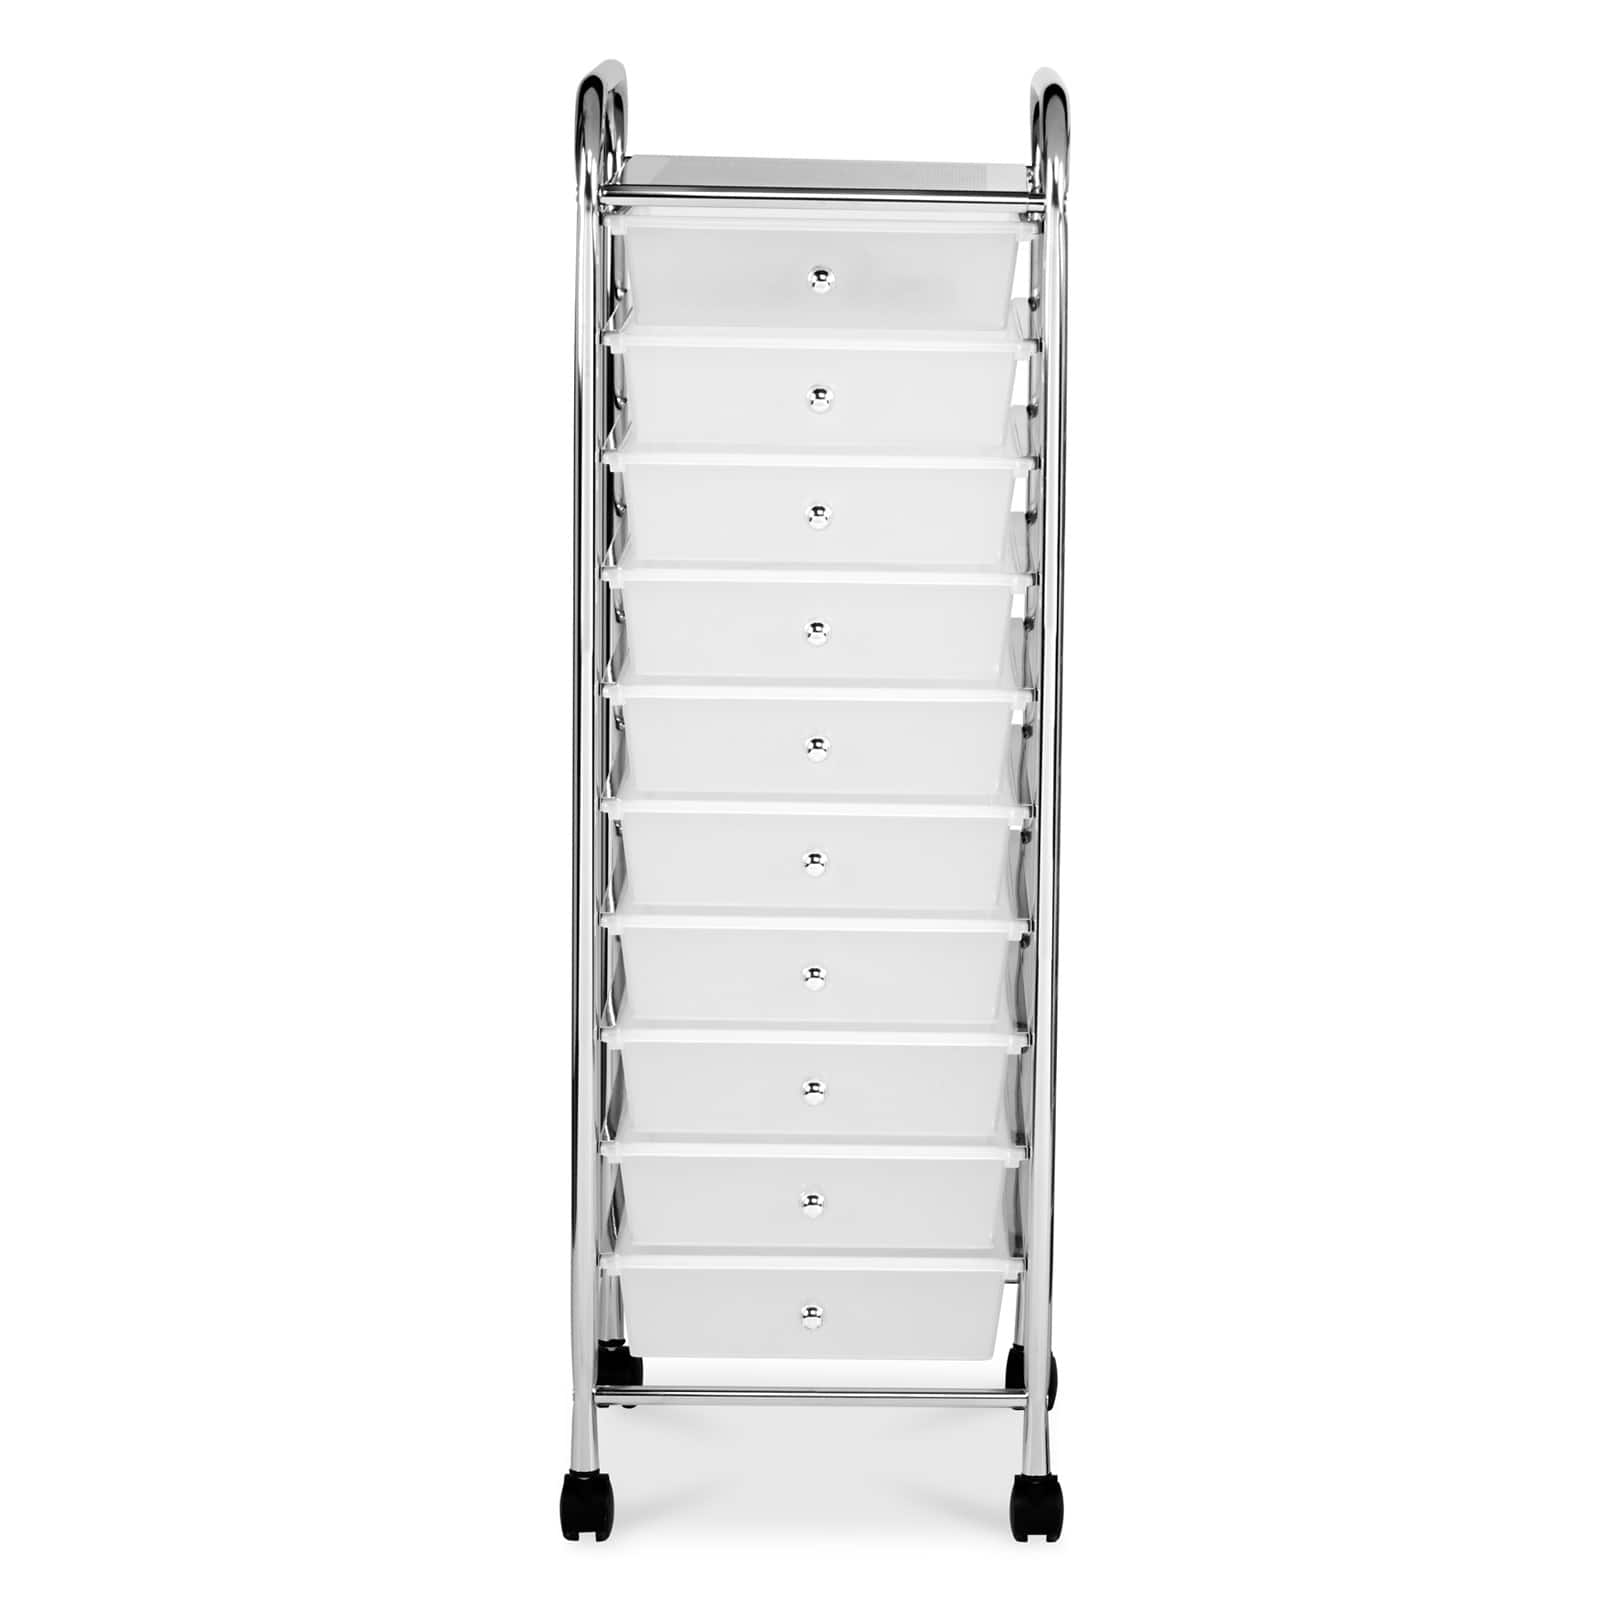
Real pick: Simply Tidy 10-Drawer Rolling Cart — for the drawer-unit job: clear drawers keep paint tubes, pencils and markers sorted by type and roll to where you work ($49.99).
Pegboard and vertical wall storage
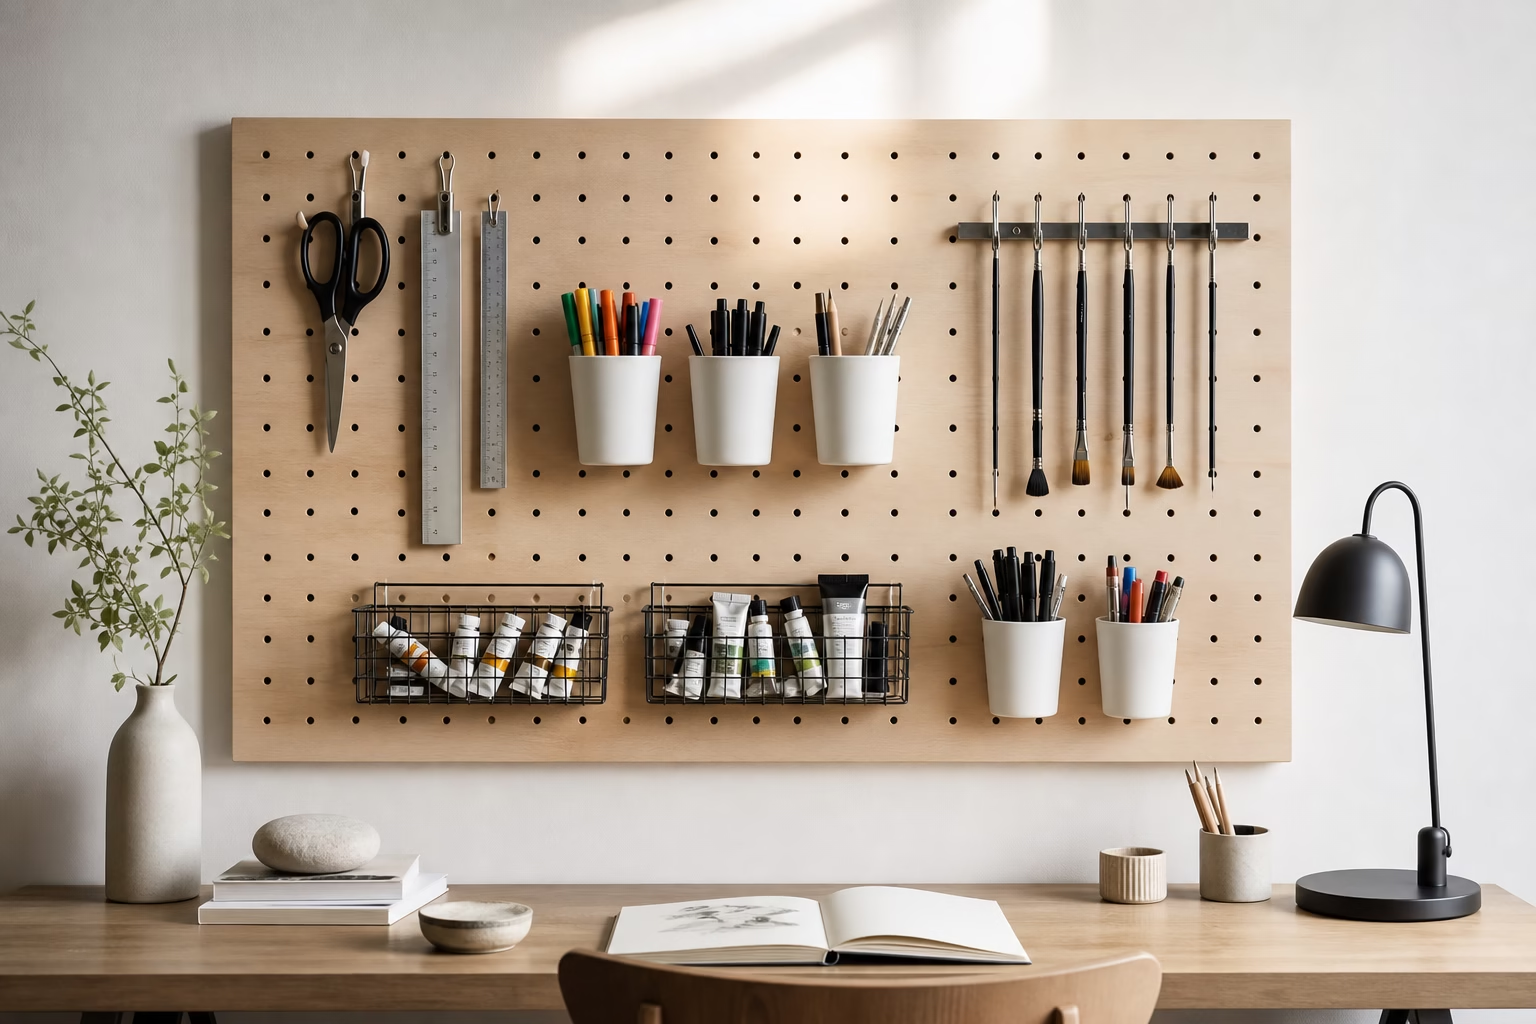
A pegboard turns empty wall into storage without using a single inch of floor. Hang hooks, cups, and small baskets to hold scissors, rulers, markers, and brushes, and you keep tools visible and reachable. Mount one above a desk or on the back of a closet door. Adjustable shelving does the same job for boxed and bottled supplies, rearranging as your collection changes.
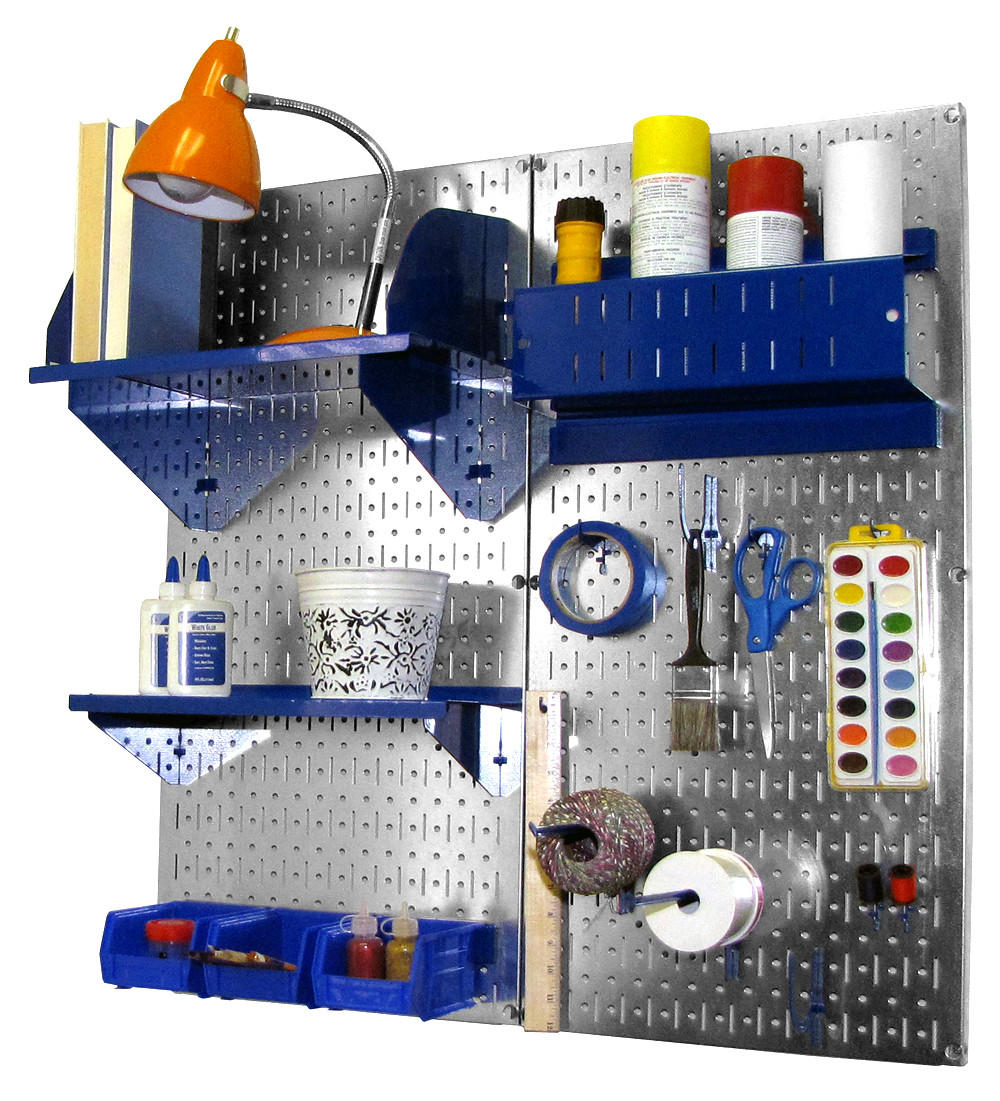
Real pick: Wall Control Craft & Hobby Pegboard Organizer Kit — two 16×32″ 20-gauge steel panels plus shelves, bins and hooks; won’t warp like masonite, lifetime warranty ($129.99).
Clear, stackable, labelled bins
Clear bins let you read a shelf at a glance instead of opening every lid, and stackable shapes turn vertical closet space into sorted storage. Keep one bin per medium — acrylics in one, watercolor in another — and label each. For overflow, slide rolling bins under a bed or couch for the larger, less-used supplies you still want quick access to.
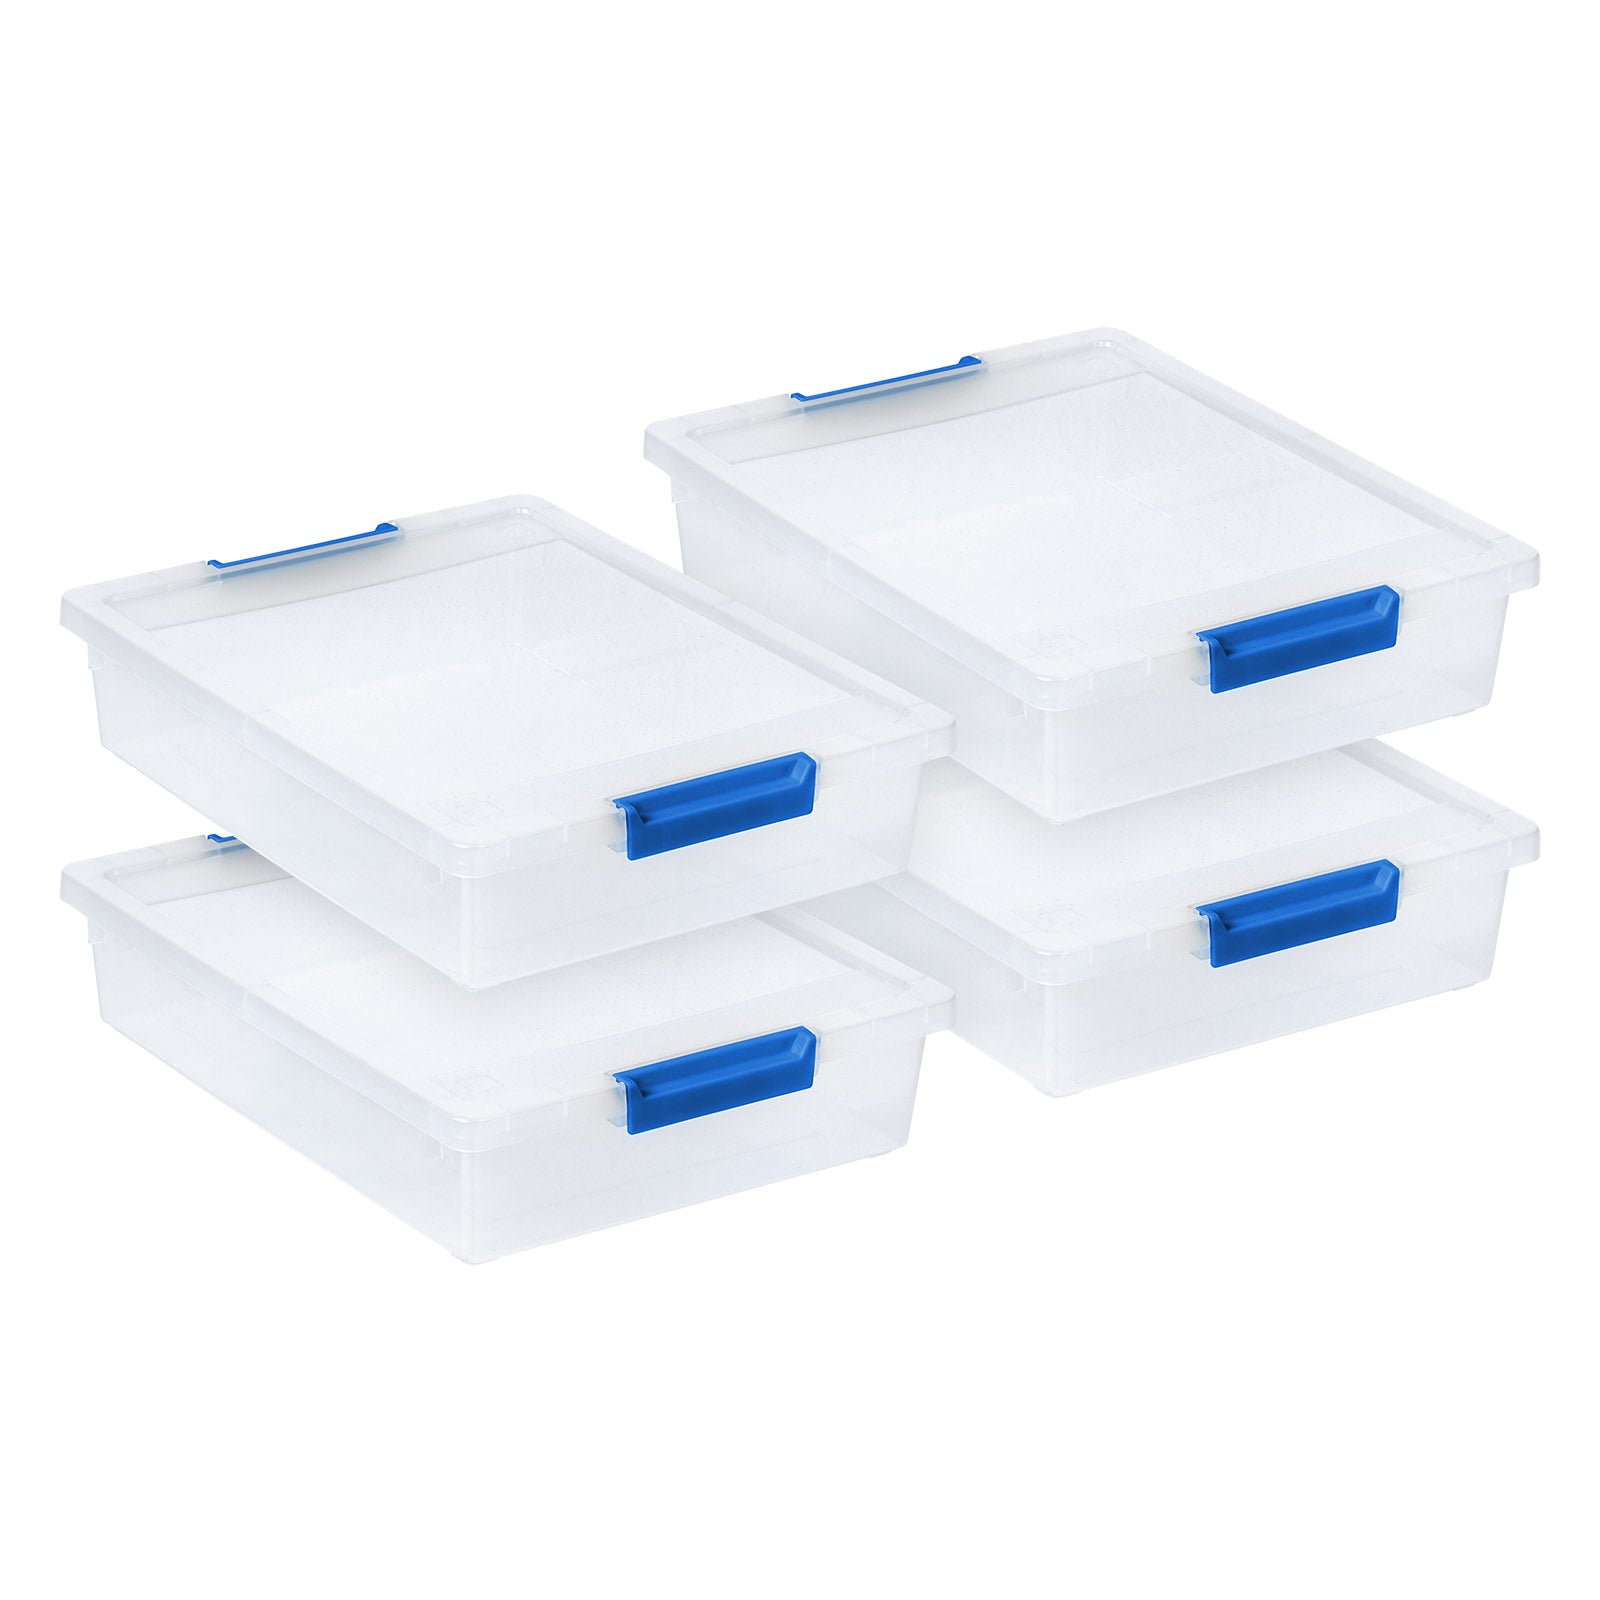
Real pick: IRIS USA 6-Qt Large Clip Box (4-pack) — clear, stackable, latching-lid bins — one per medium; fits 8.5×11 paper, made in USA ($29.99).
A fold-down work surface
A wall-mounted drop-leaf desk gives you a dedicated workspace that folds flat when you are done, returning the floor to the room. Paired with a cart and a pegboard above it, a fold-down surface lets a corner of a bedroom function as a complete studio.
Store each material so it actually lasts
Material-specific storage is what separates organizing from preserving: a sealed tube kept cool stays usable for years, while the same tube left in a hot, sunlit, or freezing spot can dry, separate, or skin over and be wasted. Once your kit is sorted and zoned, store each medium by its own needs so you are not replacing supplies you only mislaid or let go bad.
Paint
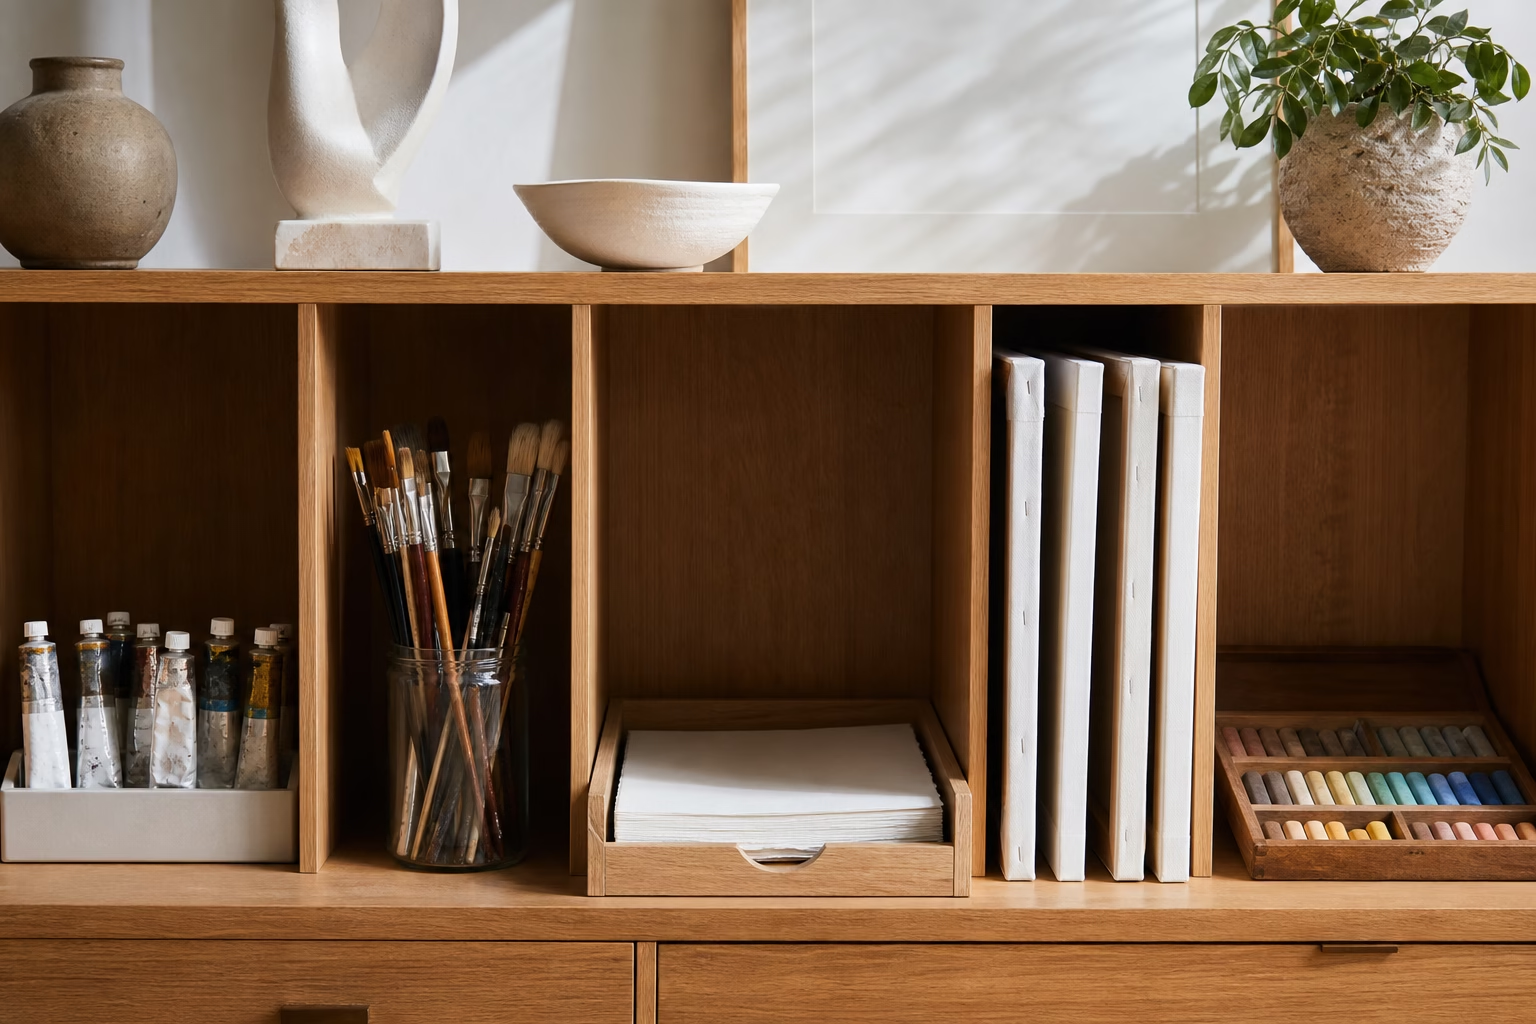
Paint keeps best sealed, upright, and held at a stable room temperature, away from direct sun, damp, big temperature swings, and freezing. Artist paint does not carry a fixed expiry date the way craft or wall paint does — stored well, it lasts for years. According to Golden Artist Colors’ storage guidance, acrylics have no definitive shelf life and stay viable for many years when kept in their original containers at roughly 60–75°F (16–24°C) with the cap threads wiped clean for an airtight seal; repeated freezing can turn the paint to a lumpy, cottage-cheese texture, while heat dries it in the tube. Oil paint lasts even longer — often decades in an intact, tightly capped tube — and fails mainly when the tube cracks or the paint skins over, so store oils out of direct sunlight and stand them upright. For watercolor pans, blot away leftover moisture and let the pans air a few hours before closing the box, so they do not stay sticky; dried pans simply rewet later. The right shelf for paint is a cool interior cupboard — never a hot attic or a damp basement. For the wider picture on grades and longevity, see art materials explained.
Brushes
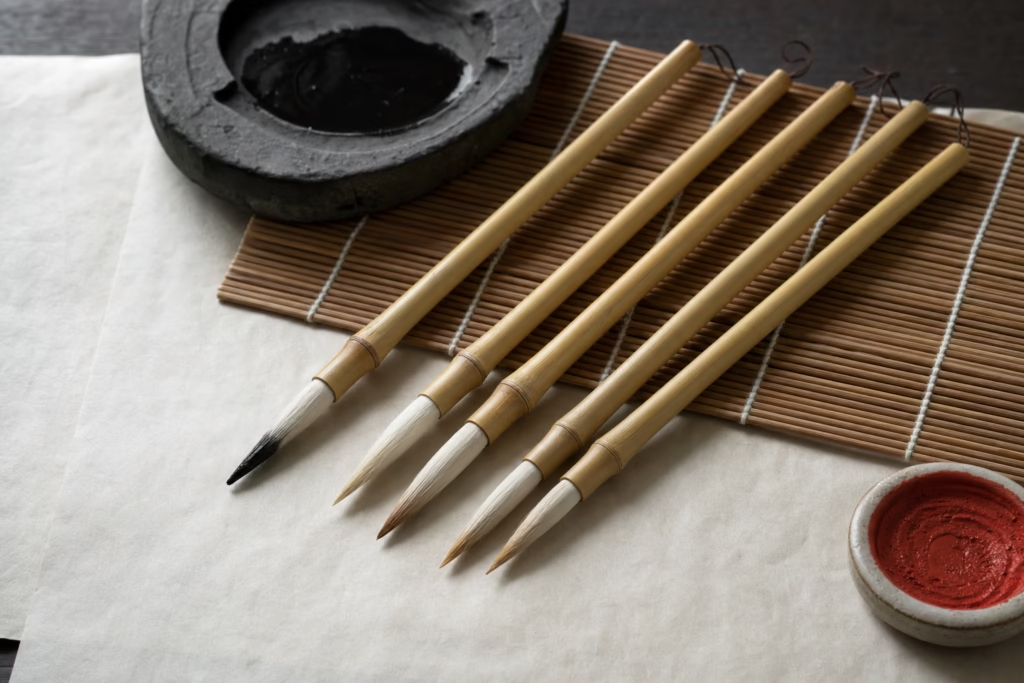
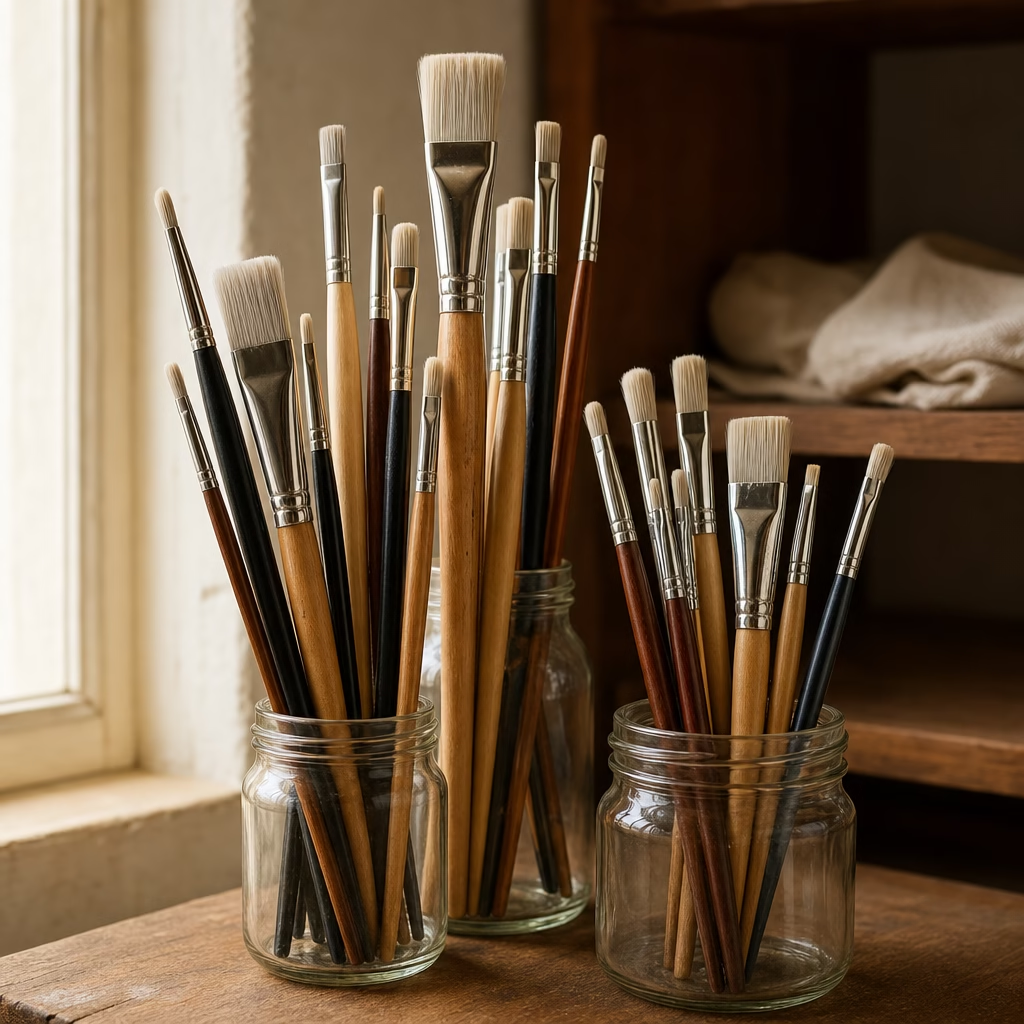
Brushes last longest stored dry and upright with the bristles facing up, in a jar or cup that lets air circulate. Standing them bristle-down crushes and splays the hairs permanently. Make sure brushes are fully clean and dry before long-term storage; trapped moisture invites mildew and loosens the ferrule. For travel or deep storage, lay them flat in a roll or case so nothing bends the tips. The same upright-in-a-jar habit keeps graphite pencils and pens visible and undamaged.
Paper and canvas
Paper stores best flat and dry, stacked in a flat file, portfolio, or shallow drawer rather than rolled, which sets a curl that fights you later. Keep it out of humidity to prevent warping and foxing, ideally in acid-free folders so sheets do not yellow against each other. Store stretched canvases upright and face-to-face with a sheet between them, off the floor, in a spot with steady humidity. Treat finished work the same way you treat fresh paper — flat or upright, never crammed.
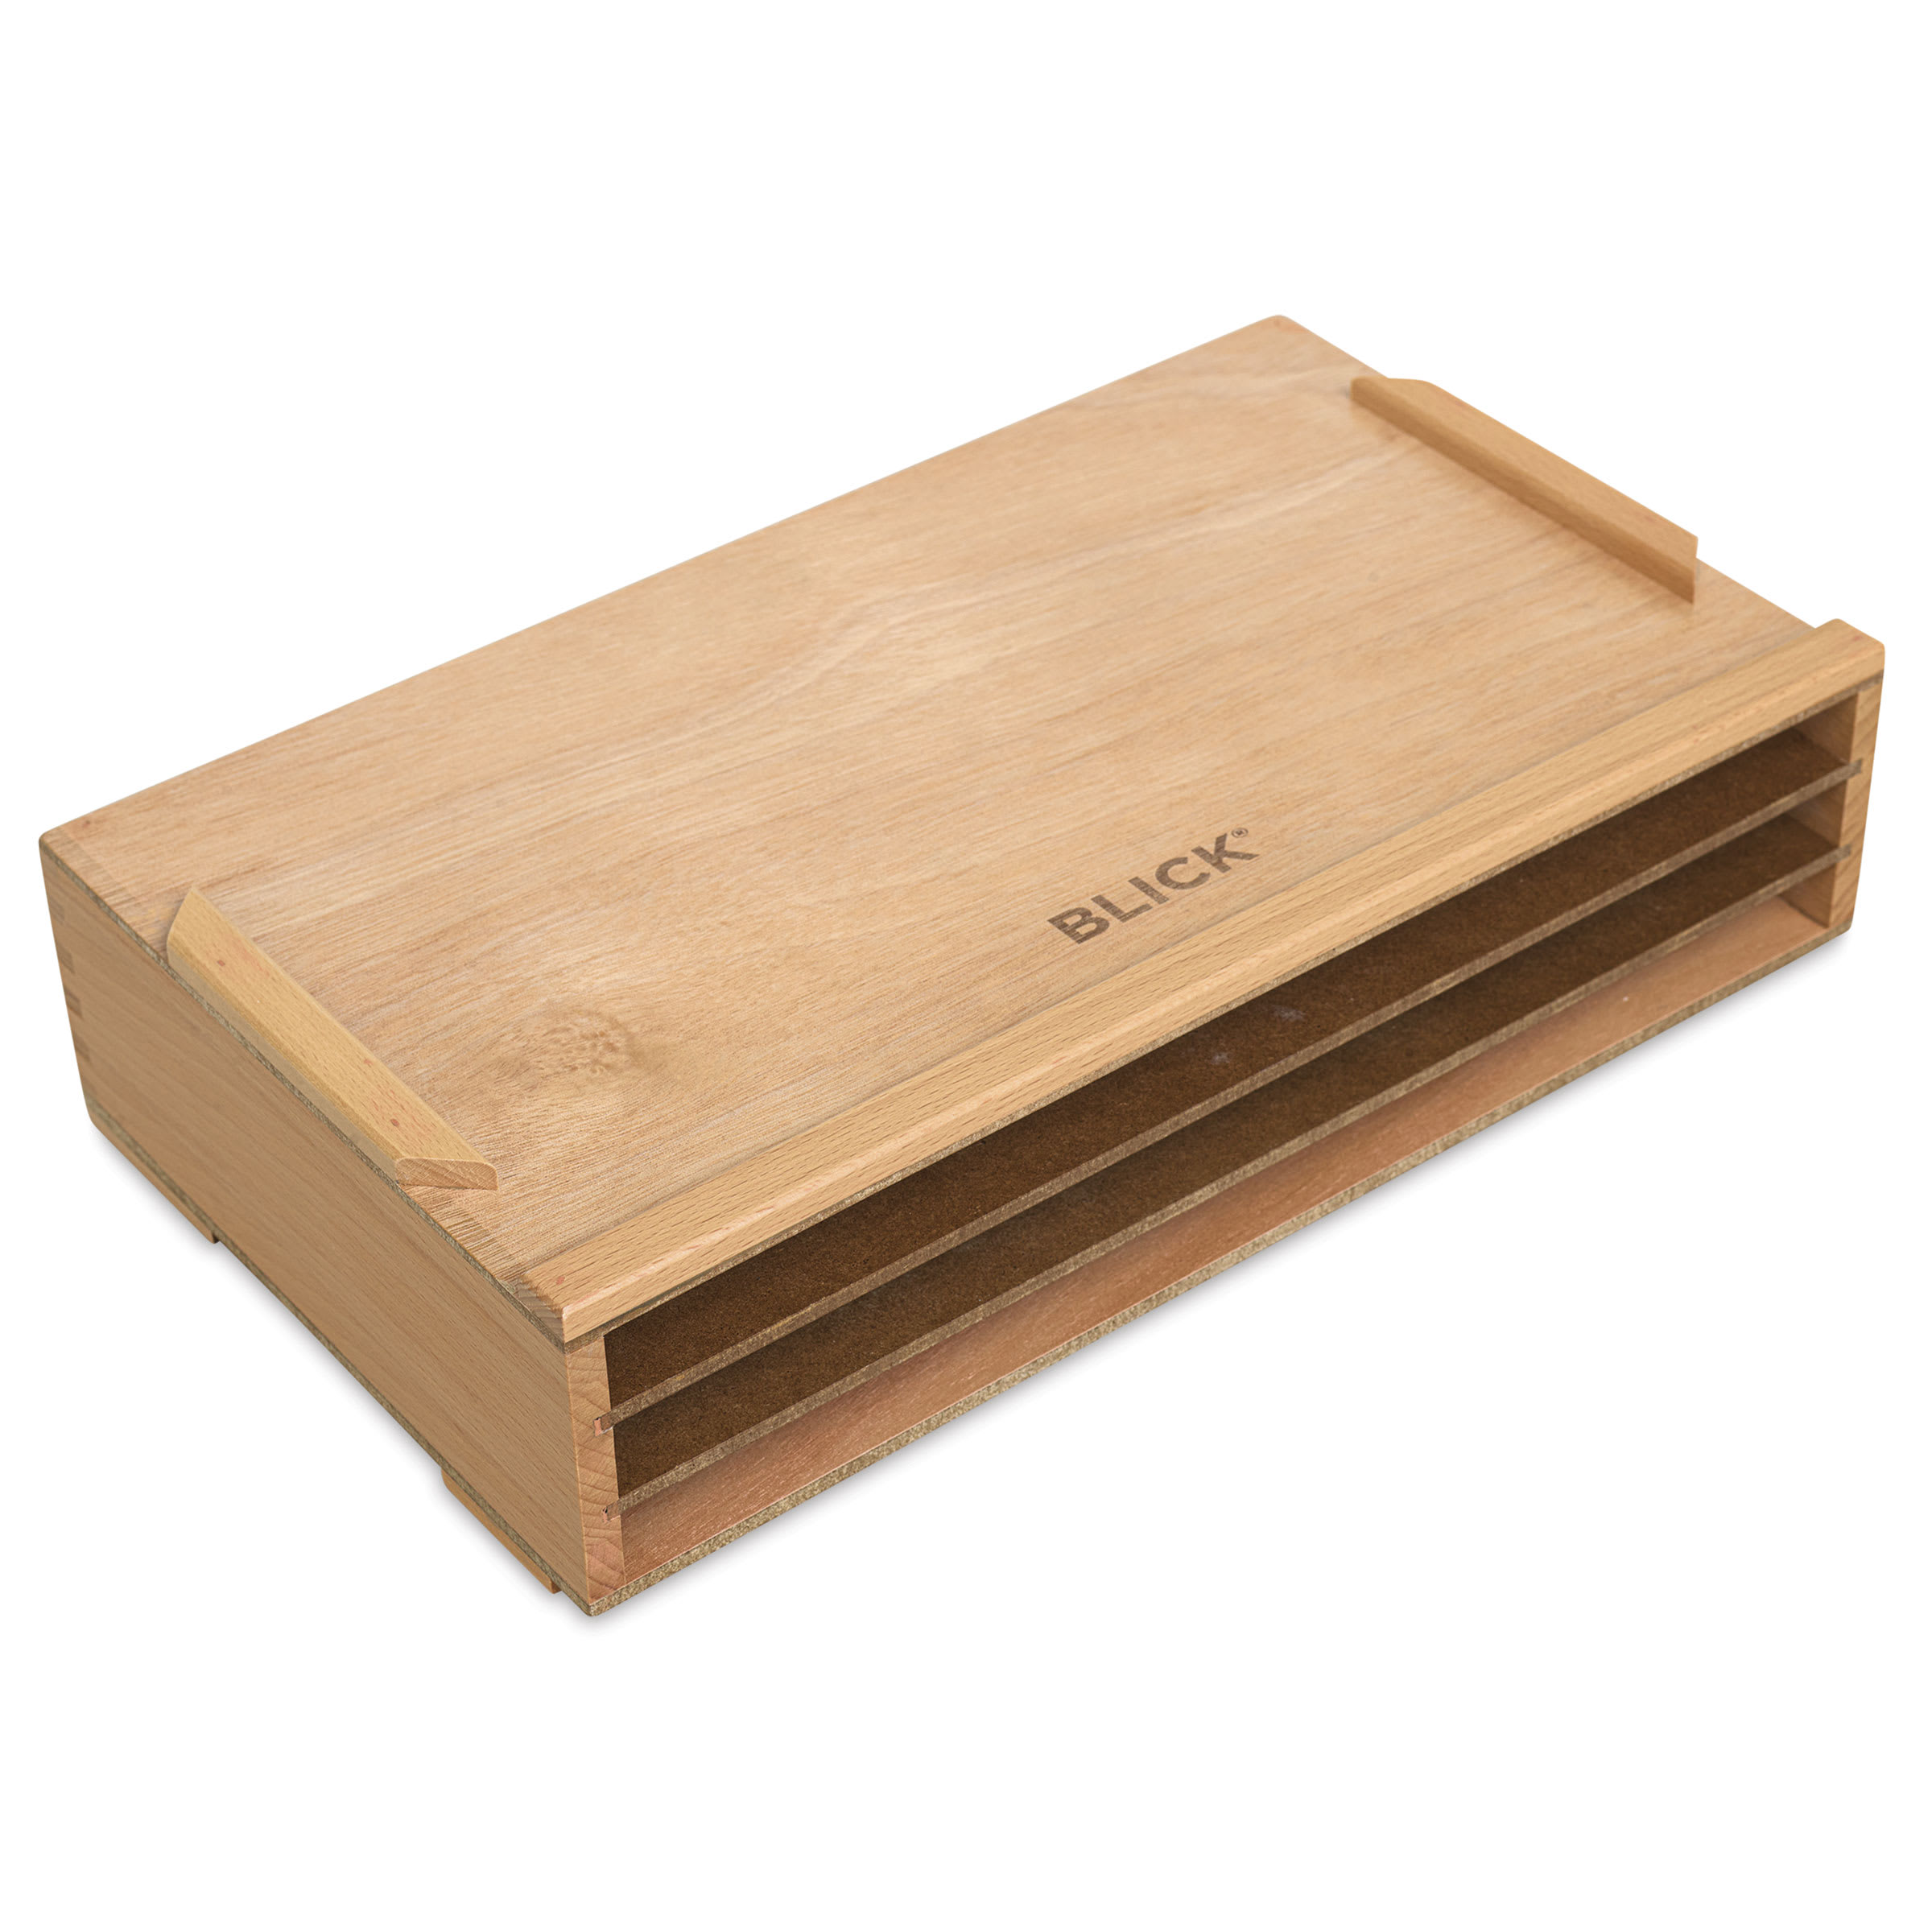
Real pick: Blick Wooden Flat File Organizer — solid-hardwood, three-slot organizer that keeps pads, papers and finished sheets flat and dust-free at desk scale.
Pastels, charcoal, and markers
Soft pastels store best in a shallow, compartmented box that keeps sticks from grinding against each other and muddying, cushioned in rice or foam if they travel; see dedicated options for soft pastel storage. Charcoal and charcoal supplies stay cleanest in a closed tin away from anything they can smudge. Markers last longest stored horizontally so ink and solvent stay even across the nib; vertical storage can starve one end. Match the container to the dedicated marker storage your set needs.
Studio safety: store solvents and rags before they become a fire
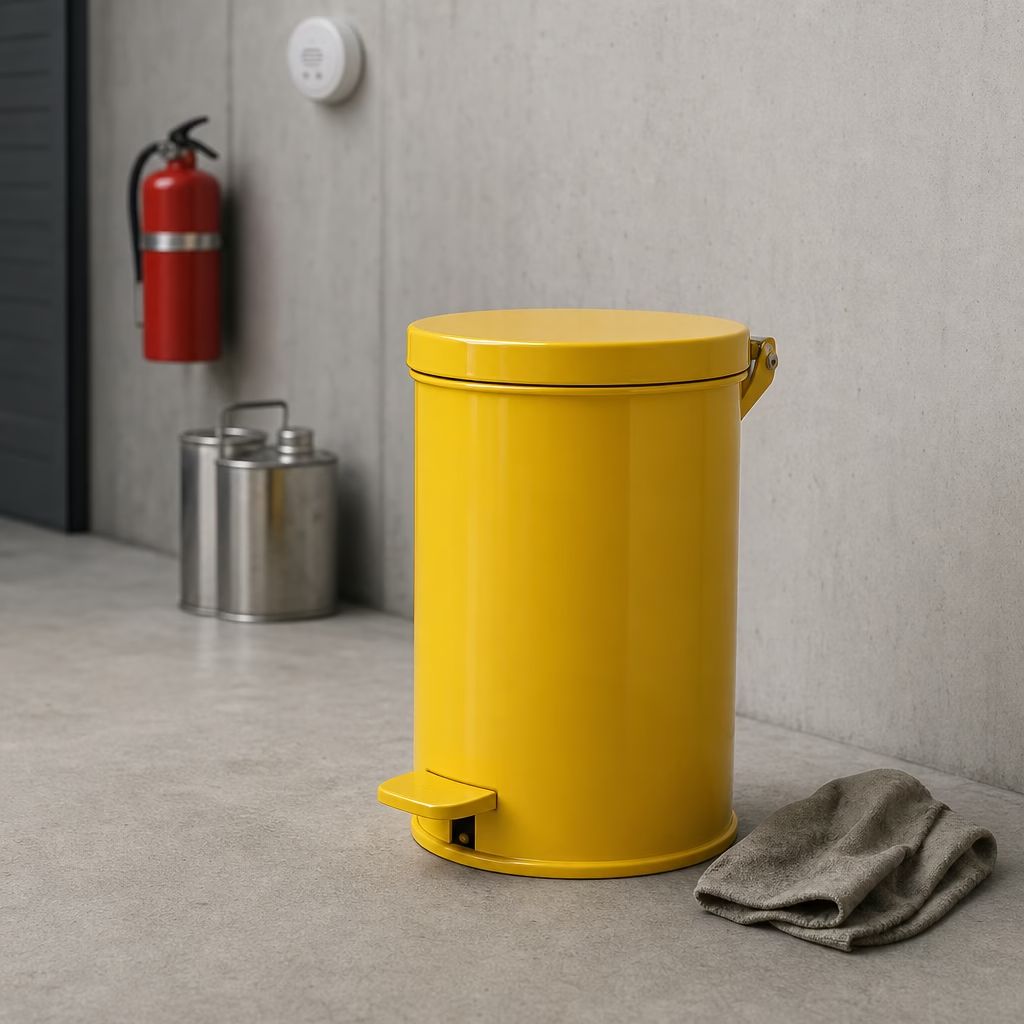
Studio safety storage is non-negotiable for oil and solvent painters, because oil-soaked rags can ignite on their own with no spark or flame. As drying oils such as linseed, walnut, and safflower oxidize, the reaction releases heat; a crumpled pile of oily rags traps that heat until it reaches the ignition point. This is spontaneous combustion, and it is the single most common cause of studio and home fires among painters. Artists sometimes dismiss the risk as a myth, but it is the oil itself that combusts — not the solvent — so the hazard is real even if you only use odourless mineral spirits; the safety data sheet for a common artist solvent like Gamsol explicitly warns that contaminated rags are spontaneously combustible and should be immersed in water after use.

Real pick: Justrite 09100 6-Gallon Oily Waste Can — the exact solution described here: an FM/UL/OSHA-listed self-closing metal can that starves oil-soaked rags of oxygen ($91.00).
Store and dispose of rags by the practices that fire-safety and artist-materials specialists agree on. Per guidance published by Natural Pigments on oil-paint rag disposal, the surest methods are:
- Use a self-closing metal oily-waste can. A listed metal can with a self-closing lid limits oxygen, so the oxidation uses up the available air and stops before it can ignite. This is the standard professional solution for an active studio.
- Or water-soak and seal. Drop oily rags into a sealable plastic bag, soak them with water, seal it, and dispose of it in an outdoor bin. Rags soaked in water and sealed will not spontaneously combust.
- Never pile drying rags together. If you must let a rag dry, spread it flat and singly on a non-flammable surface in a ventilated spot — never wadded in a wastebasket.
- Cap and isolate solvents. Solvent-soaked rags are not a spontaneous-combustion risk but the solvents are flammable; keep them in a closed metal container and store solvents away from heat, sparks, and sunlight.
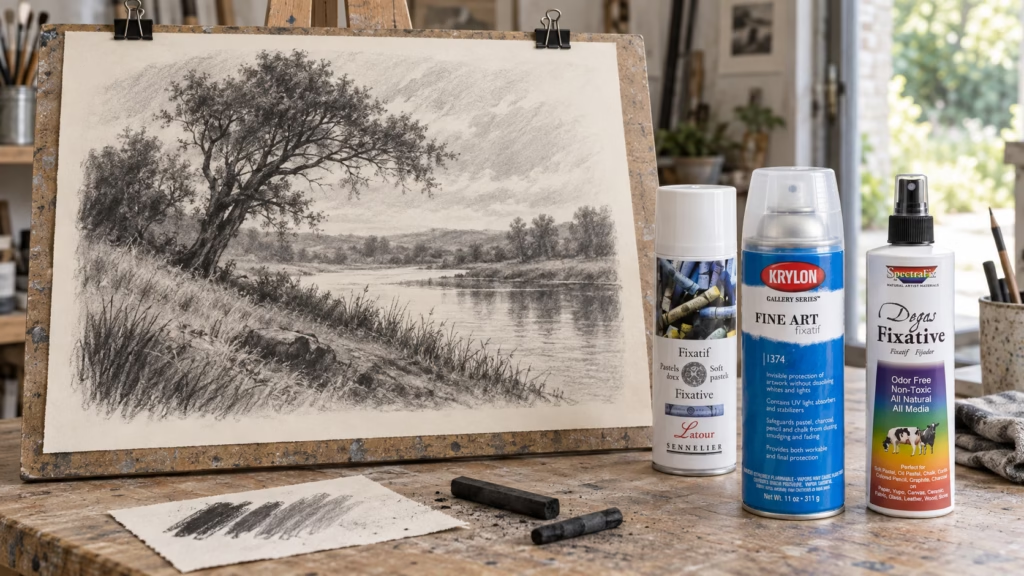
Round out the studio with a working smoke detector and a fire extinguisher rated for flammable liquids kept within reach. Store aerosol fixatives and spray varnishes upright, capped, and away from heat as well, since they are pressurized and flammable. These habits cost little and remove the one storage mistake that turns a hobby into a hazard.
Label it, then keep it that way
Labelling is what makes a storage system survive past its first week: a labelled bin tells you and everyone in the house exactly where a supply lives and where it returns. Label every container by type — and be specific, since “colored pencils, warm” is far easier to refile correctly than a vague “pencils.” Keep the supplies you use most in open, eye-level reach, and make returning each item to its home the last step of every session. A system only saves time if putting things back is faster than the search you are trying to avoid; experienced artists warn that drawers crammed too full stop getting opened, and once you stop opening them you start stacking on top.
Two small habits keep the system honest. Keep a restock basket where empty or broken supplies go, and check it weekly so you are never caught short mid-project. And keep a simple inventory — a spreadsheet, a notes app, or QR codes on the bins — listing what you own, where it lives, and the brand, so reordering and budgeting take seconds instead of a shelf-by-shelf hunt.
Review the whole kit a couple of times a year. Re-sort, top up consumables, and pull anything that has dried out or that you no longer use — the same gather-sort-declutter pass that built the system keeps it from silently filling back up. Once your storage is settled, you will know what you own at a glance, which makes it easy to spot the gaps when you build your essential art supplies checklist.
Common questions about storing art supplies
These quick answers cover the questions artists most often ask once the main system is in place.
How do you organize art supplies in a small space?
Organize a small space by going vertical and mobile: a rolling cart, a pegboard on the wall, and clear stackable bins give maximum storage on a tiny footprint. Keep daily supplies at arm’s reach and store backups under the bed or on a high shelf.
How should you store paint brushes?
Store brushes clean, dry, and upright with the bristles facing up in a jar or cup. For travel, lay them flat in a roll so nothing bends the tips. Never store a brush resting on its bristles, which splays the hairs permanently.
Does art paint expire?
Artist paint has no fixed expiry date. Stored sealed and cool, acrylics stay usable for many years (Golden states they have no definitive shelf life) and oil paint can last decades in an intact tube. Storage conditions, not age, decide its life: heat dries it, repeated freezing curdles acrylics, and a cracked or skinned tube ends it.
How do you store paper so it doesn’t curl?
Store paper flat and dry in a flat file, portfolio, or shallow drawer, never rolled, and keep it away from humidity. Acid-free folders stop sheets yellowing. Flat storage prevents the set-in curl that rolled paper develops.
Why are oily rags a fire hazard?
Oily rags are a fire hazard because drying oils release heat as they oxidize, and a crumpled pile traps that heat until it self-ignites. Store oily rags in a self-closing metal can, or water-soak and seal them in a bag before disposal.