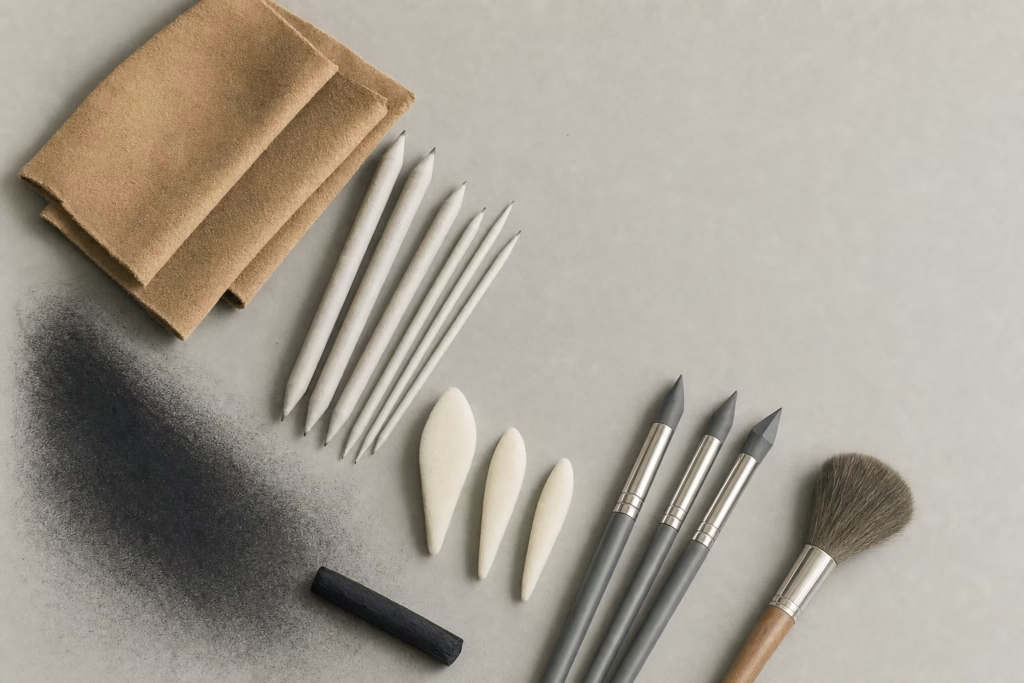
Best charcoal blenders at a glance
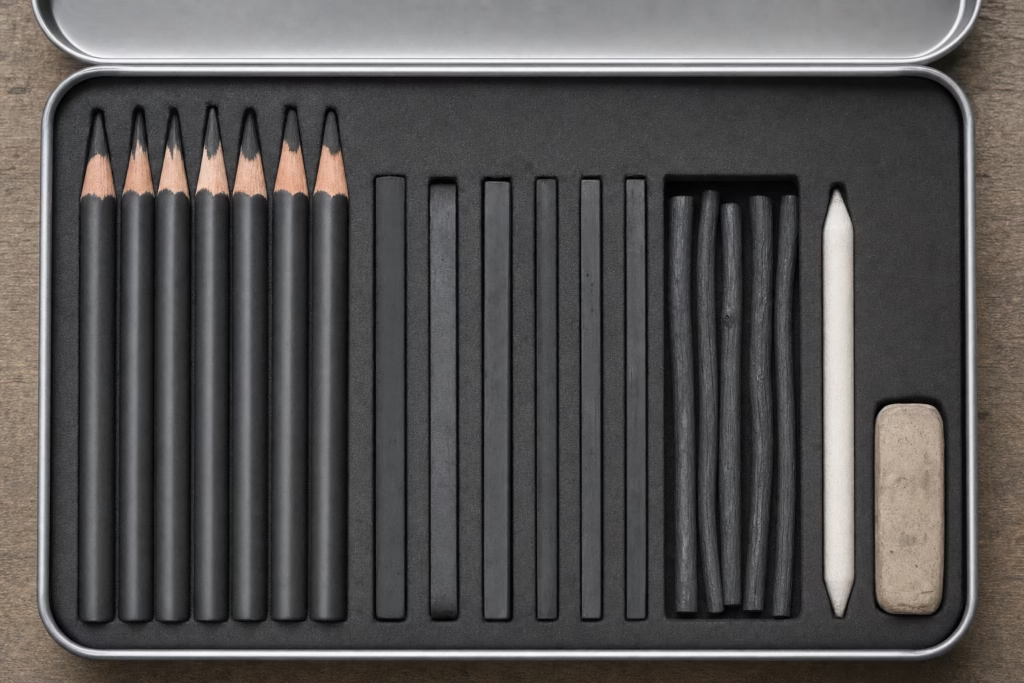
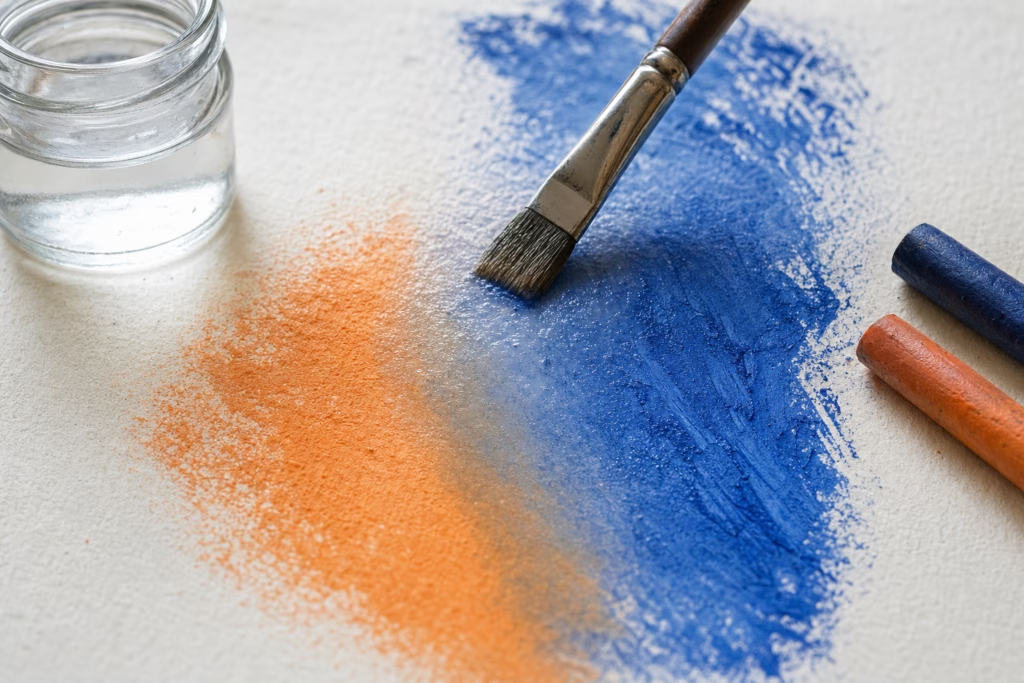
Charcoal blenders are the tools that turn separate charcoal marks into smooth, continuous tone — smudging, spreading and softening the loose carbon so it reads as modelled form rather than scribble. There is no single best one, because each works at a different scale: a chamois covers the largest soft areas, blending stumps and tortillons give controlled mid-size and detail work, PanPastel Sofft foam tools lay the silkiest oil-free tone on skin, silicone Colour Shapers push and shape tone precisely, and a soft mop brush floats the most delicate veils.
Buy a chamois and a set of blending stumps first — between them they handle most of a drawing — then add Sofft tools, a colour shaper and a mop brush as your blending gets more refined. Below: what each blender is, the top picks with what they cost you in trade-offs, and exactly how to use each one.
| Blender | Made of | Scale | Best for |
|---|---|---|---|
| Jack Richeson Artist Chamois | Soft leather | Large | Skies, grounds, big soft masses |
| Paper blending stumps | Rolled paper, solid | Medium | Controlled smoothing, gradients |
| Jack Richeson Tortillons | Rolled paper, hollow | Small | Fine detail, tight transitions |
| PanPastel Sofft Tools | Foam sponge | Any | Silky skin tone, oil-free blends |
| Colour Shapers | Silicone tip | Small–medium | Pushing tone, crisp edges, lifting |
| Da Vinci Squirrel Mop | Soft hair brush | Any | Delicate veils, dusting powder |
What charcoal blenders are
Charcoal sits on the paper as loose carbon particles caught in the tooth of the surface, held by almost nothing. A blender moves those particles around — some spread them thin into an even film, some lift and carry them, some push them into the tooth. That physical difference is why the tools are not interchangeable. Absorbent tools (paper stumps, tortillons, foam Sofft tools, a leather chamois) pick up charcoal as they work, so they both spread tone and become “charged” drawing tools that lay soft mid-tones directly. Non-absorbent tools (silicone shapers) push tone without soaking it up, which lets them shape crisp edges a soft tool would blur. A soft brush barely touches the surface at all, so it floats particles into the faintest veils.
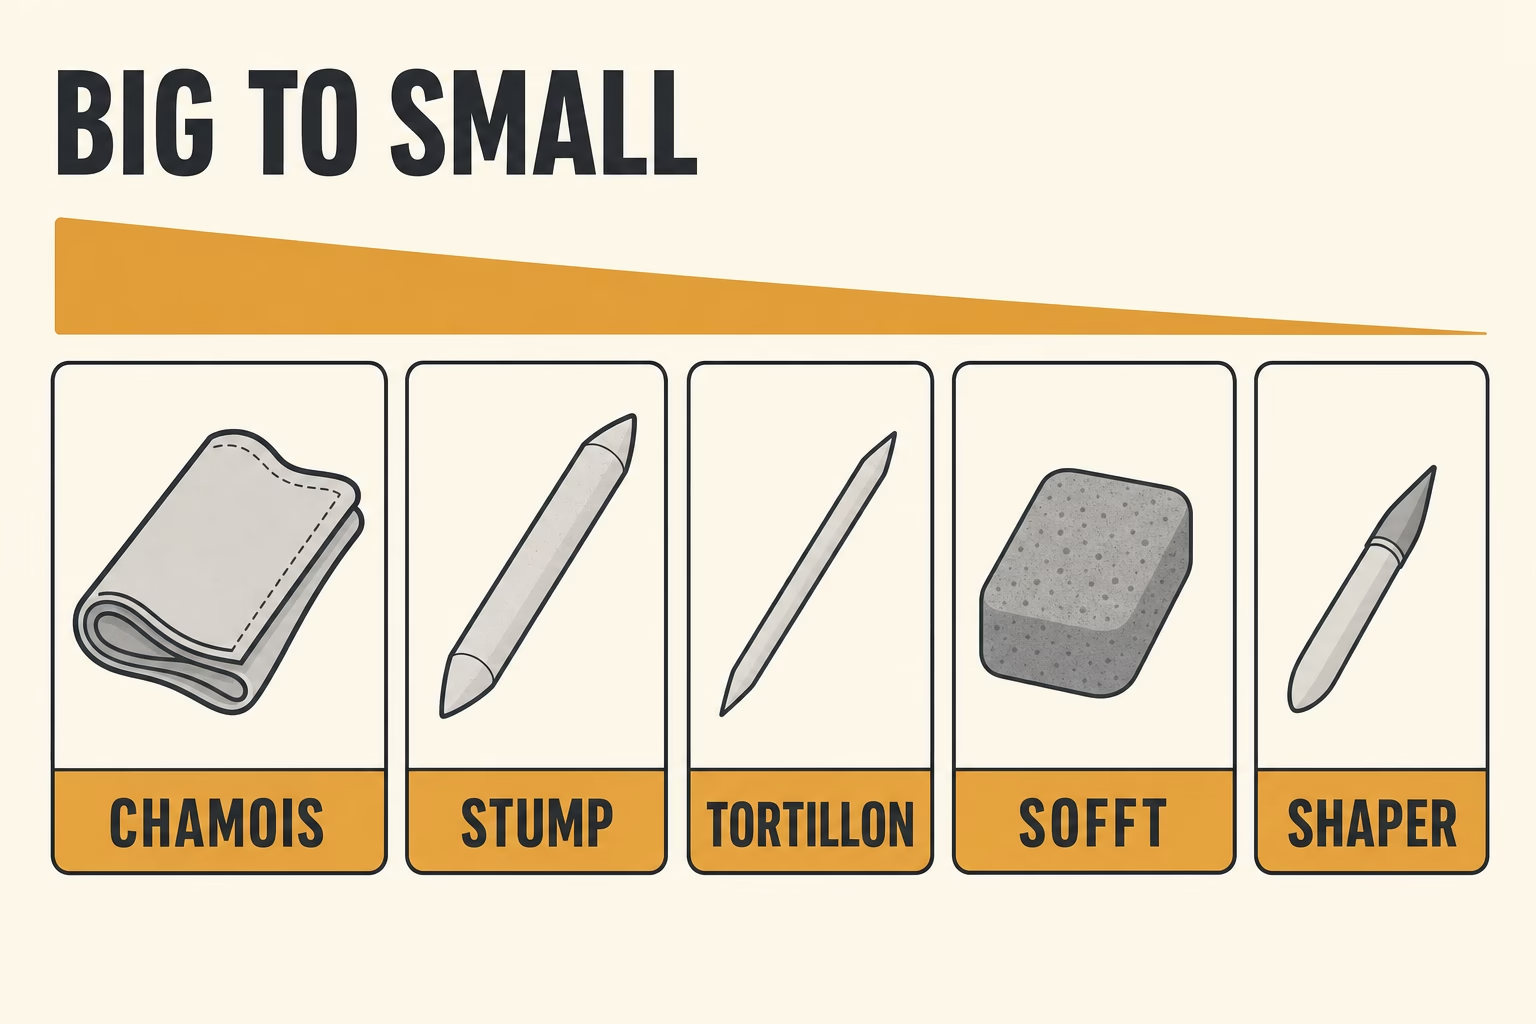
They also work at different scales, and this is the single most useful thing to understand: a chamois is a broad, imprecise tool; a stump is a controlled mid-size tool; a tortillon is a detail tool; Sofft tools bridge broad and smooth; a shaper is a precision tool. The golden rule that ties them together is to blend selectively — smooth only where the form is genuinely soft, and leave direct charcoal marks and crisp edges everywhere else. A drawing blended uniformly goes flat and grey and dead; the life is in the contrast between blended passages and untouched marks. You blend to describe how light turns across a form, not to tidy the drawing up.
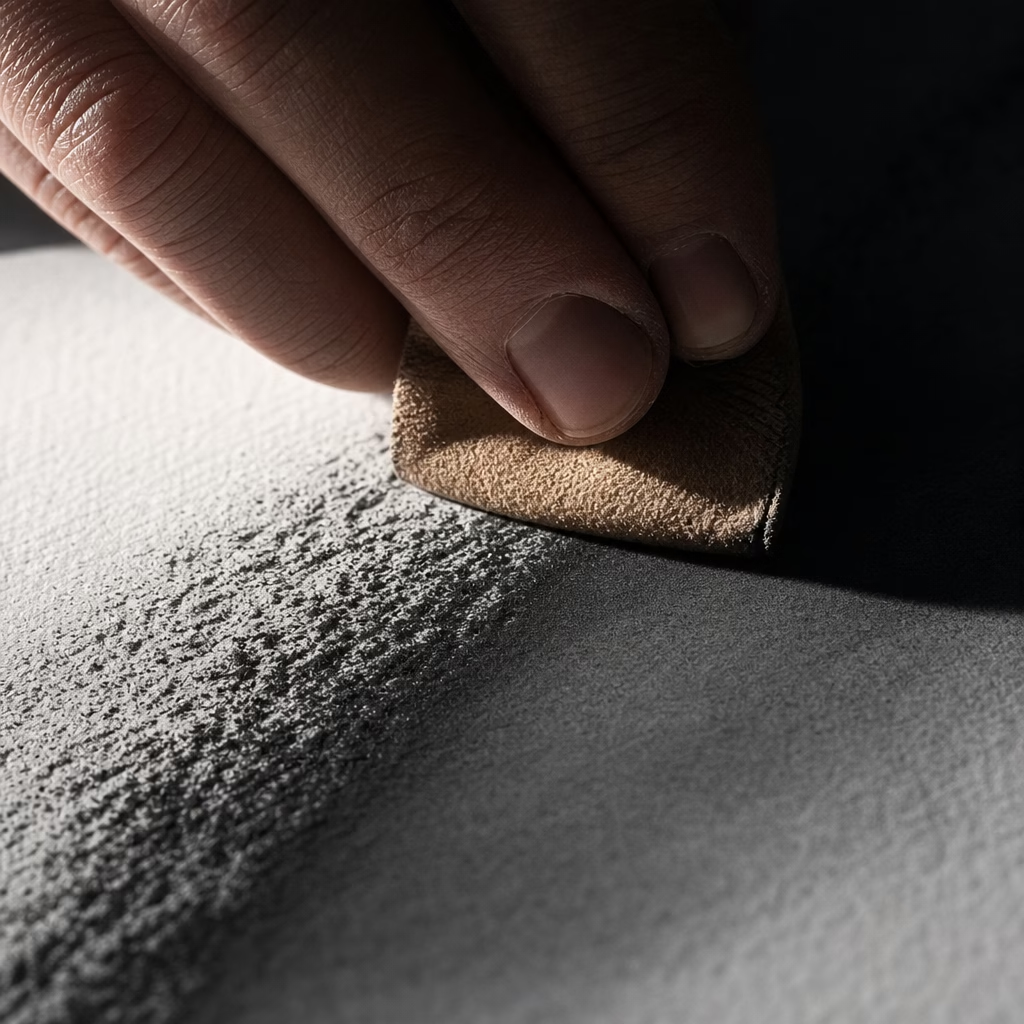
The best charcoal blenders, reviewed
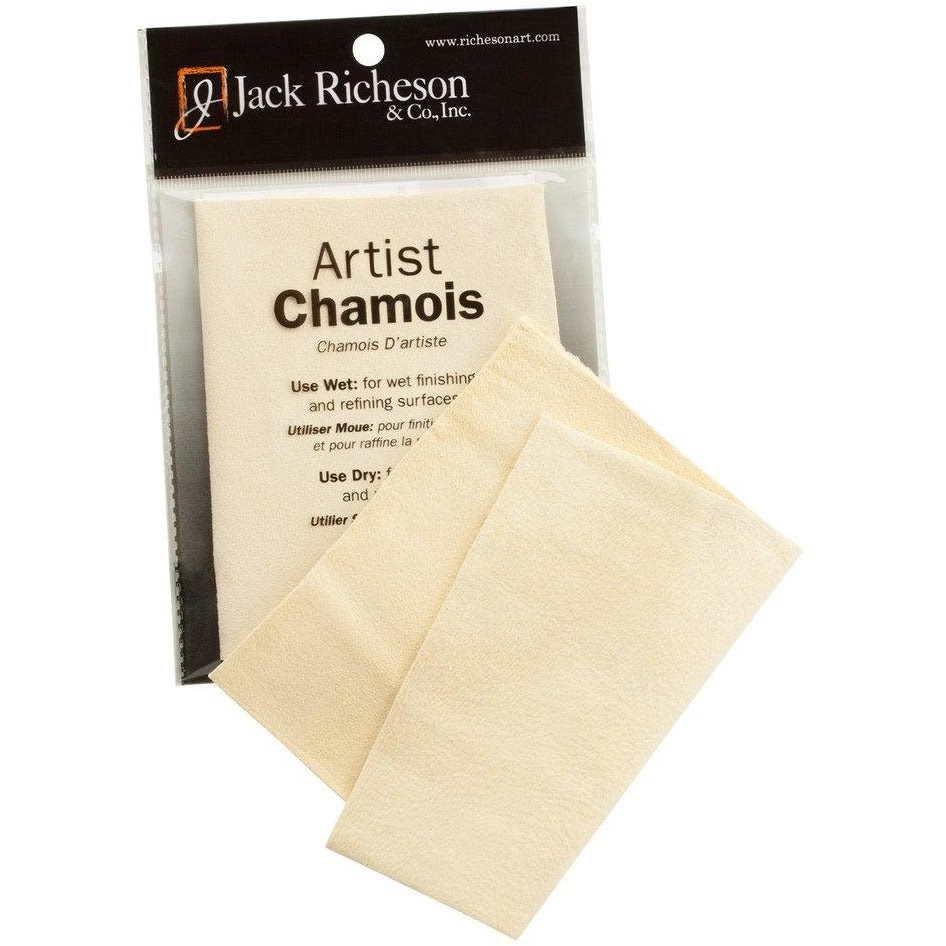
Jack Richeson Artist Chamois — best for large soft areas
A chamois is a soft piece of leather, and it blends the largest areas into the most even tone of any tool here. Jack Richeson’s is a supple ~5×7 in. natural chamois — big enough to fold several ways, soft enough not to scrub the tooth flat. It is the tool for skies, backgrounds, the broad turn of light on a torso, and for laying a full toned ground in seconds when charged with charcoal or powder. It is inexpensive, and because you clean it by shaking it out and refolding to a clean face, one piece lasts for years. Its limitation is precision: it has none, so it is a broad-strokes tool you pair with stumps and tortillons for anything smaller than a fist.
Best for: the biggest soft areas, grounds, atmosphere. Watch: zero precision; a charcoal-loaded chamois will darken where you meant to lighten — keep a clean face for lifting.
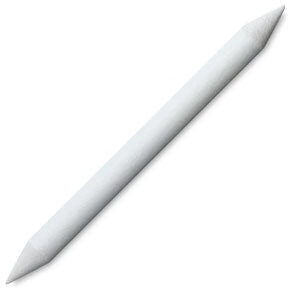
Paper blending stumps — best for controlled mid-size blending
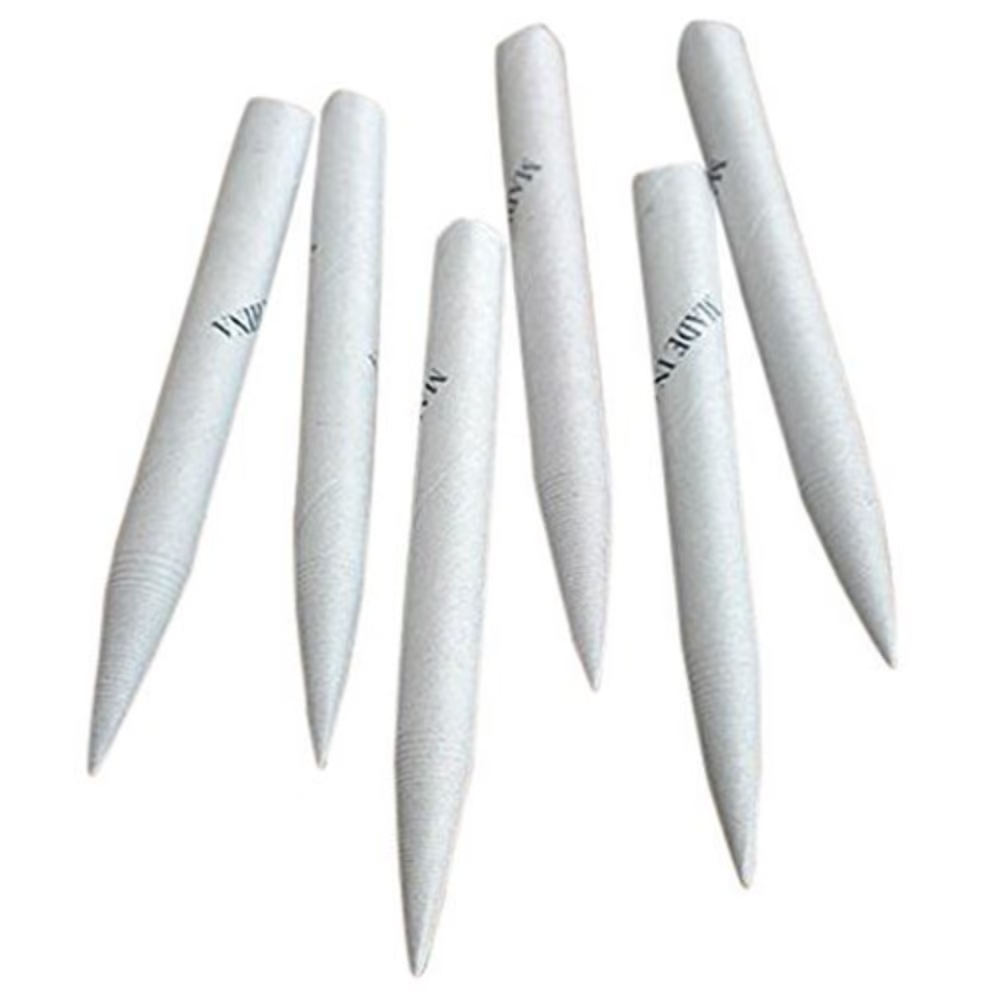
Blending stumps are solid rolled paper sanded to a point at both ends, and they are the workhorse that does most of a drawing’s blending. General’s and Art Alternatives both make reliable assorted packs, and buying a range of sizes is the point — a fat stump for backgrounds and big forms, a slim one for tighter passages, and you get two working ends per stump. They give far more control than a chamois, grade tone smoothly under light pressure, and when the tip picks up charcoal they double as a drawing tool for soft mid-tones. Re-sharpen and clean the tip on a sandpaper block as it loads up. A mixed set is the best-value blending purchase you will make after a chamois.
Best for: controlled mid-size smoothing, gradients, charged mid-tones. Watch: too thick for fine detail; a dirty tip smears old charcoal into clean areas — sand it clean.
Jack Richeson Tortillons — best for fine detail
A tortillon is paper rolled into a tighter, hollow spiral with a single point — thinner and more pointed than a stump, made for the detail a stump is too clumsy to reach. Jack Richeson’s hold a firm point that gets into the corner of an eye, the soft edge of a nostril, or a fine fold in cloth, and lets you stop a blend exactly where a hard edge should begin. They charge with charcoal for tiny soft mid-tones the same way a stump does. Because the fine tip wears and dirties faster than a fat stump, keep several on the go and rotate to a clean one rather than dragging a grey tip across a highlight.
Best for: detail blending, tight transitions, small charged mid-tones. Watch: useless for large areas; points wear and blunt quickly.
PanPastel Sofft Tools — best for the smoothest, oil-free blends
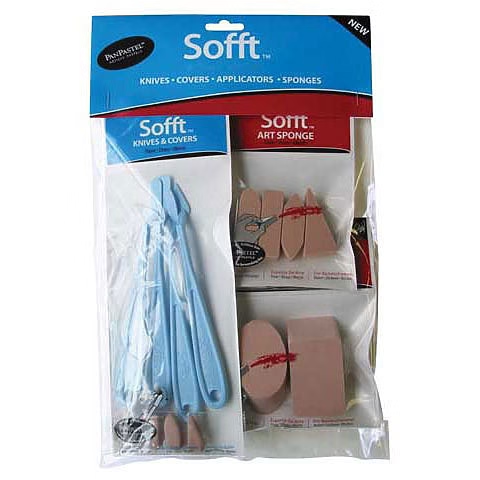
Sofft Tools are PanPastel’s dense foam sponges and knife-and-cover applicators, and they are the tool serious portrait artists reach for when they want seamless, streak-free value — skin, in particular. The foam moves charcoal like a soft brush but with more grip and control, laying gossamer, even tone without the skin oils a finger leaves (oils that mark the paper and repel fixative) and without pressing the tooth flat. The 8-Piece Combination Set gives you sponge bars, angle-cut slices and an applicator with replaceable covers, so you have a broad face for cheeks and a fine edge for eye sockets. The covers wear and load with charcoal — swap them out rather than fighting a grey, saturated sponge.
Best for: silky skin tone, seamless value, oil-free application. Watch: covers are consumable; the priciest blenders here, though a set lasts a long time.
Colour Shapers — best for pushing and shaping tone
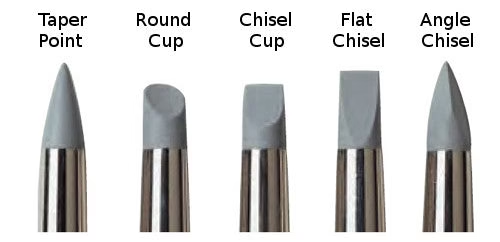
Colour Shapers are firm silicone-tipped tools shaped like brushes, and they do something no absorbent blender can: they push charcoal around without soaking it up. That makes them precision instruments — move a passage of tone exactly where you want it, carve a crisp edge between light and shadow, or lift a fine bright line back out of a dark area. They come in soft grey and firmer black tips and several sizes and nib shapes, and they wipe perfectly clean on a rag, so they never build up old charcoal the way a stump does. Think of them less as a smudger and more as a scalpel for tone.
Best for: pushing tone precisely, crisp edges, lifting fine lines. Watch: lifts and softens less than a stump; a shaping tool, not a broad blender.
Da Vinci Squirrel Mop — best for delicate veils
A soft dry brush blends with the lightest possible touch, and a squirrel mop like Da Vinci’s is about as soft as brush hair gets. It floats charcoal into the faintest veils of tone, softens an edge by a hair’s-breadth, and sweeps loose powder around when you are laying or adjusting a ground — all without pressing pigment into the tooth, so the surface stays open for more work. It is a finishing and atmosphere tool rather than a primary blender: you would not build a shadow with it, but for the gentlest softening and for keeping powder work under control, nothing else is as delicate. A cheaper large make-up brush will approximate it; a real squirrel mop is simply softer and holds its shape.
Best for: delicate veils, feather-soft edge softening, moving powder. Watch: too soft to move much charcoal — light work only.

How to use each charcoal blender
Chamois. Wrap it over a fingertip or bunch it into a small pad and sweep lightly over the charcoal in the direction of the form; ease off the pressure as you move toward the light to fade a gradient. To lay a ground, rub the chamois on a charcoal stick or into powder to load it, then sweep evenly across the sheet — reload for a darker ground. Always keep one clean face for lifting and softening, and refold as each face greys up.
Blending stump. Lay your tone first, then work the stump over it in small circular or directional strokes with light pressure — the stump moves charcoal that is already there, so pressing hard only burnishes the paper. Grade one value into the next by lightening your touch. To draw with it, charge the tip on a charcoal-loaded sandpaper block and lay soft mid-tones directly. When the tip greys or blunts, spin it on the sandpaper block to clean and re-point it.
Tortillon. Use the same light circular touch as a stump, but for small, contained areas — hold it more upright for a fine point, and stop the blend cleanly at edges that should stay sharp. Rotate to a clean tortillon for highlights rather than lifting charcoal into them.
Sofft tools. Dab or sweep the foam over the tone for the smoothest blend; a light dragging motion lays even value across skin, while a dabbing motion softens without directional streaks. Use a broad sponge bar for cheeks and foreheads and an angle slice or covered point for eye sockets and nostrils. Replace the cover when it saturates.
Colour shaper. Use the firm tip to push tone into shape, drag its edge to carve a crisp boundary between light and shadow, and use the point to lift a thin bright line out of a dark passage. Wipe it on a rag between strokes so it stays clean.
Mop brush. Keep it dry, load almost nothing, and brush in light passes to float a veil of tone or to soften an edge; use it to sweep and even out loose powder when laying a ground. If it starts to move real charcoal, you are pressing too hard.
The blending workflow: big to small
Work from the largest tool to the smallest so you never fight yourself. Lay your values, then blend the big masses first with the chamois to set soft, even areas of tone. Move to stumps for the mid-size passages where you need control, and to Sofft tools where you want the silkiest transitions — skin, soft drapery, the core of a form. Drop to a tortillon or a small colour shaper for the details, carving crisp edges with the shaper where light meets shadow. Use the mop brush for the faintest softening, and switch to a kneaded eraser to pull the lights back out. At every step, ask whether the area actually needs blending: the drawing stays alive when blended passages sit against crisp, direct marks, not when everything is smoothed the same amount.
Common mistakes when blending charcoal
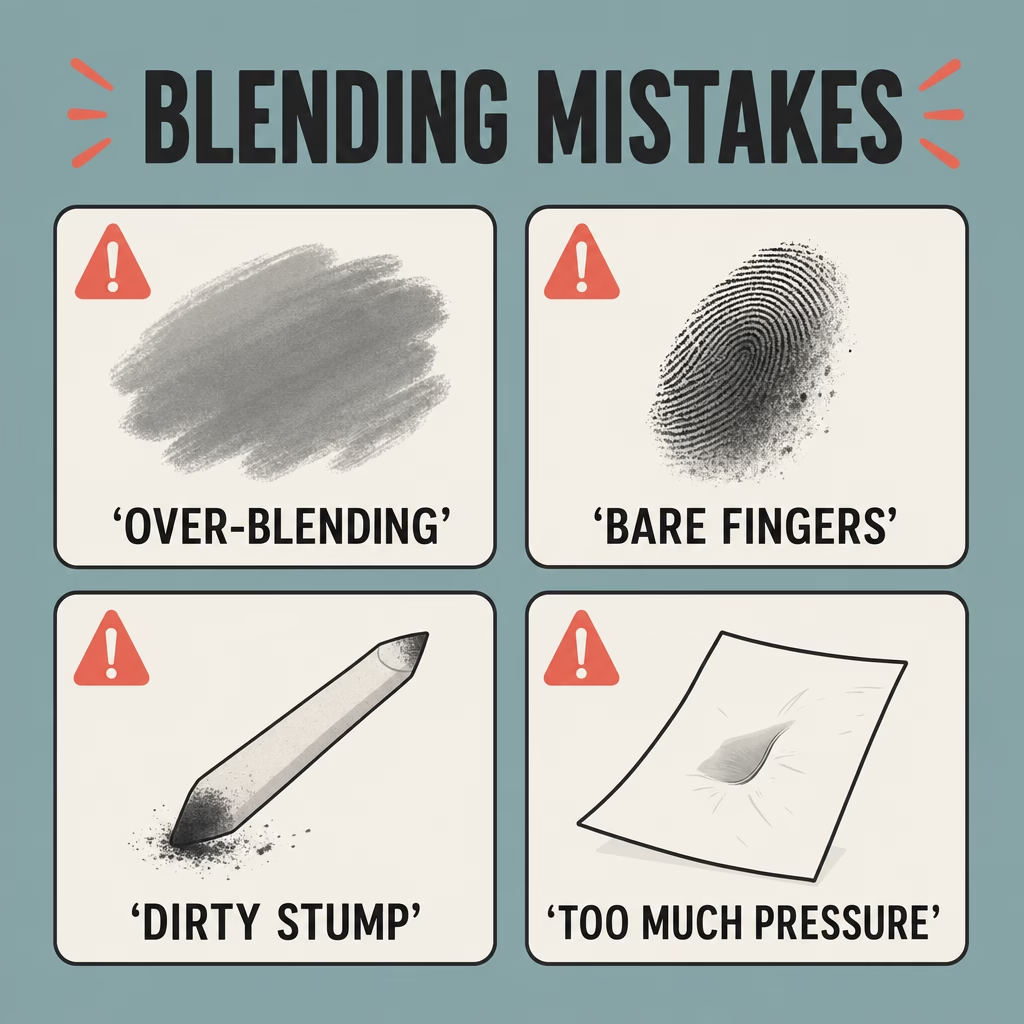
The cardinal error is over-blending — smoothing the whole drawing into a uniform grey haze with no fresh marks or crisp edges. Blend selectively and keep the contrast. The second is blending with a dirty tool, which drags old charcoal into clean areas; sand stumps clean, shake out the chamois, and swap loaded Sofft covers. The third is using fingers on finished work — the skin oils mark the paper and stop fixative gripping, which is precisely why Sofft tools and stumps exist. The fourth is pressing too hard: a blender should move the charcoal already on the surface, not grind it in and flatten the tooth so it stops accepting more. And the fifth is blending to rescue a badly drawn passage — blending refines form that is already there correctly, but it cannot invent form you never established with the charcoal.
Frequently asked questions
What is the best tool to blend charcoal?
It depends on scale: a chamois for the largest soft areas, blending stumps for controlled mid-size blending, tortillons for fine detail, PanPastel Sofft tools for the smoothest oil-free blends on skin, and a soft mop brush for the most delicate veils. The two to own first are a chamois and a set of blending stumps, which together cover most work.
What do professional artists use to blend charcoal?
A combination rather than one tool: a chamois for broad areas and grounds, paper stumps and tortillons for controlled and detailed blending, Sofft foam tools for silky skin transitions, and often a soft brush for delicate softening. Most avoid fingers on finished work because skin oils mark the paper and resist fixative.
Can you blend charcoal with your fingers?
You can, and it is quick for studies, but fingers leave skin oils that can mark the paper and repel fixative, so they are best kept off finished drawings. A chamois, stump, tortillon, Sofft tool or soft brush gives cleaner, more controllable results.
What is the difference between a blending stump and a tortillon?
A stump is solid rolled paper, pointed at both ends, thicker, for controlled mid-size blending. A tortillon is thinner, hollow-rolled and pointed at one end, for fine detail a stump is too clumsy to reach. Stumps for mass and gradients, tortillons for detail — most artists use both.
How do you blend charcoal smoothly without it looking muddy?
Blend selectively and with light pressure, match the tool to the scale (chamois big, stumps medium, tortillons and shapers for detail, Sofft for skin), and keep your tools clean. Leave some crisp, direct marks unblended for contrast — uniform blending everywhere is exactly what makes charcoal look flat and muddy.
Should I blend charcoal before or after fixing it?
Blend before fixing. Fixative locks the charcoal in place, so a fixed passage can no longer be blended or lifted. Blend and refine a stage fully, fix it, then continue drawing on top if you are working in layers.
Related in this cluster: see the complete charcoal supplies guide and the deep dives on blending stumps and tortillons and the chamois; pull lights back with a kneaded eraser and protect the result with a final fixative.
Sources: product information from Jack Richeson Artist Chamois (MC Art Supplies), Jack Richeson Tortillons (K. A. Artist Shop), PanPastel Sofft Tools (K. A. Artist Shop), and Colour Shapers (Wyndham Art Supplies).